
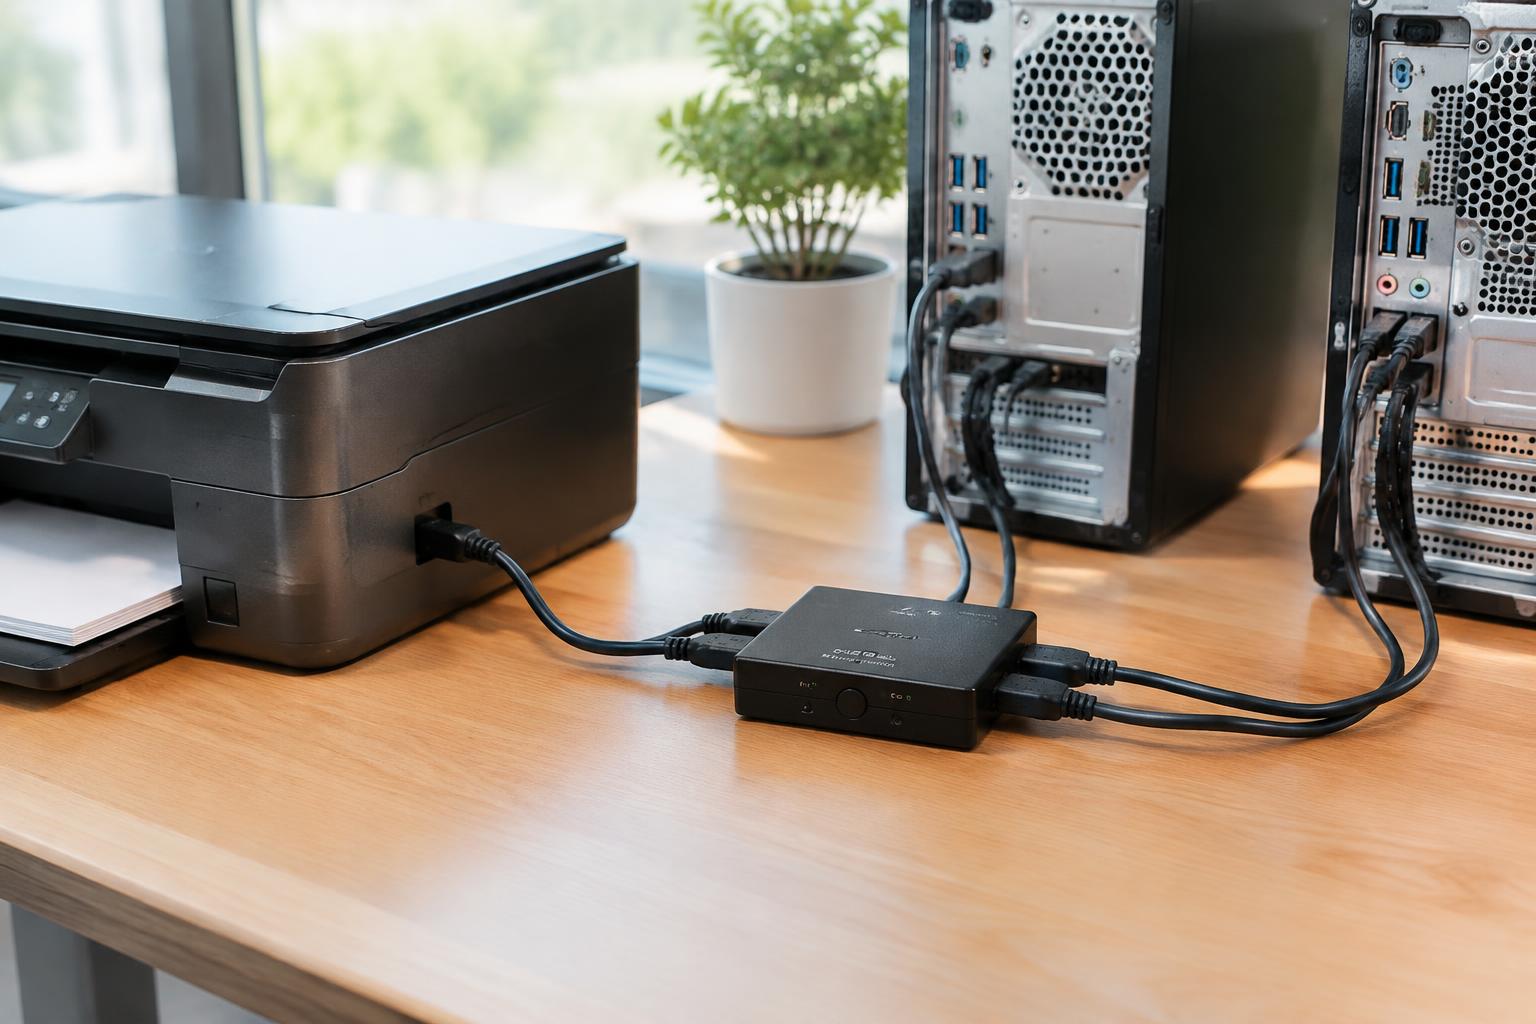
A USB printer does not need a separate connection for every computer: you can share it through a host computer, your home network, or a dedicated USB print server. The right setup depends on the printer’s drivers and available ports, but network sharing costs nothing extra when one computer can stay on. Your existing printer remains the output device.
Key Takeaways:
- A USB printer can serve several computers through operating system printer sharing, with one computer acting as the host and staying powered on whenever others need to print.
- A network-enabled print server or a router with USB printer support connects the printer to the local network, so computers do not depend on a host computer being available.
- Install the printer driver on each computer, then add the shared printer through its network name or address; print server compatibility and the printer’s driver determine whether all features are available.
Check Your Printer’s Sharing Options
Start with the printer’s documentation or control panel to identify which sharing features the manufacturer supports. A built-in network interface or host-computer sharing option affects what the printer itself can offer, while the model name and exact connection ports clarify its limits. Record the model number and note whether the printer has its own network settings. Built-in features vary by model, so confirm them against the printer’s labels or manual before relying on a particular setting.
| Printer detail | What to look for | What it indicates |
|---|---|---|
| Network capability | Wi-Fi or Ethernet listed on the device | Printer has a network interface |
| Connection ports | USB port and port labels | Shows available physical connections |
| Control panel | Network or sharing menu | May expose printer-side settings |
Check for Wi-Fi, Ethernet, or USB-only connections
Inspect the rear panel and product specifications for a Wi-Fi symbol, an Ethernet jack, or a USB-B port. A wireless network name or Ethernet status shown on the printer’s display confirms that network features are present; a USB port alone indicates a direct computer connection. Port labels and model specifications are more reliable than the printer’s appearance, since some models share a casing while offering different connection capabilities.
Find the printer’s sharing settings
Open the printer’s control-panel menus or its manufacturer utility on the computer where the device is installed, then look for entries such as Network, Sharing, or Printer Properties. Windows users can inspect the printer’s Properties and Sharing tab, while macOS users can review Printers & Scanners and the printer’s options. Separate printer-side and computer-side settings distinguish built-in network features from sharing managed by the connected computer.
Choose a Way to Share the USB Printer
Your choice depends on whether you prefer to use a computer that is already part of your network or add a small device dedicated to printer access. A computer-hosted setup avoids extra hardware, while a USB print server gives the printer its own network connection. In either case, confirm that your printer model and operating systems are supported; driver compatibility can determine whether every computer can print reliably.
Share the printer through a connected computer
Using a connected computer keeps the setup simple and costs nothing if you already have a suitable PC. Connect the USB printer to that computer, enable printer sharing in its operating system, and let other computers access it over your local network. The trade-off is that the host must stay powered on and connected whenever someone else prints, so this option suits a home office where one desktop is regularly in use.
Use a compatible USB print server
A USB print server connects the printer directly to your network, so other computers do not depend on a particular PC staying on. Check the server’s supported printer list and connection type before buying, since some devices support only basic printing and not scanning or printer status features. A compatible unit provides independent network access, while the printer itself still needs the correct driver on each computer.
- Identify whether your router has a USB printer-sharing feature.
- Check whether computers use Windows, macOS, or a mix.
- Confirm whether anyone needs scanning through the shared device.
Set Up Printer Sharing Step by Step
Start by choosing which computer or print server will stay connected to the USB printer and manage its queue. Keep that host powered on and connected to your local network whenever other users need to print. Before changing settings, confirm that the printer produces a test page locally and that its USB cable is firmly seated. A working local connection gives you a clear baseline for troubleshooting shared printing.
| Connection point | What to verify | Why it matters |
|---|---|---|
| USB printer | Power, cable, and local test page | Confirms the printer works directly |
| Host computer | USB connection and network access | Provides the shared queue |
| Print server | USB port and network connection | Keeps printer access independent of a desktop host |
Connect the printer to the host computer or print server
Plug the printer’s USB cable directly into the selected host computer or into the print server’s USB port, then connect the host or server to your local network. Install the manufacturer’s driver on the host if the operating system does not detect the printer automatically. Print a test page from that device and confirm the correct model and paper settings appear. A direct USB connection avoids unreliable hubs and establishes the queue you will share.
Enable sharing and install the printer driver
Open the printer’s properties on the host and enable printer sharing, then give the shared printer a short, recognizable name without special characters. On Windows, this setting is typically under Printer properties and the Sharing tab; on macOS, enable printer sharing in Sharing settings and select the printer. Keep network discovery and file and printer sharing permitted on a trusted private network. Install the correct driver for the printer’s model and operating system on the host.
Connect Multiple Computers
Once printer sharing is enabled, each computer needs its own connection to the shared printer. The exact menu names vary by operating system, but the setup follows the same pattern: locate the printer on the network, add it to the device, and select it when printing. Use the host computer’s name or the printer’s network share name to identify the correct device, especially if several printers appear in the list.
Find and add the shared printer on each device
On Windows, open Printers & scanners and choose the option to add a device; select the shared printer when it appears, or enter its network path, such as \\ComputerName\PrinterName. On macOS, open Printers & Scanners, select Add Printer, and choose the printer from the available list. Add the printer separately on every computer that needs to print, using the host computer’s exact share name.
Confirm compatible drivers and network access
Before adding the printer, confirm that each computer can reach the host over the same local network and that network discovery is enabled where required. The printer driver must support both the printer model and the computer’s operating system; install the manufacturer’s driver if the system does not find a suitable one automatically. On Windows, shared printers often rely on the host’s driver, so match the client’s system architecture when prompted.
- Use the same Wi-Fi network name on wireless clients.
- Keep the host computer’s network profile set to Private on Windows.
- Allow printer sharing through the host’s firewall.
Tips for Reliable Printer Sharing
Keep the shared printer’s connection predictable by leaving its USB cable firmly seated and its network equipment powered and stable. Assign the printer a clear name so colleagues can identify it in their computer’s printer list, and avoid moving the cable between ports without updating the setup. A consistent connection reduces interruptions, while keeping paper loaded and supplies available prevents a shared device from sitting idle with a visible out-of-paper alert.
Keep the host computer on when others need to print
Leave the host computer powered on, awake, and connected to the same local network whenever other users need access. A sleeping or shut-down host stops relaying print jobs from client computers, even if the printer itself remains on. Set the host’s sleep options to avoid suspending network access during work hours, and sign in after a restart if your operating system requires it. Keep the USB printer attached to that computer rather than disconnecting it between jobs.
Troubleshoot connection and print-queue issues
Start with the printer’s status light, USB cable, and network connection when a shared job stalls. Open the host’s print queue and clear only the stuck job, then resend a small test document from a client computer. If jobs remain paused, confirm that the printer is not marked offline and restart the print spooler through the host’s system settings. Clear one failed job at a time so you do not discard other users’ queued documents.
- Keep spare paper beside the printer.
- Label the USB cable at the host end.
- Place the printer where its status lights are visible.
Factors to Consider Before You Choose
Your best option depends on how often each computer needs to print, what your network allows, and whether the printer works with the devices you already use. A small household with one desktop that stays on has different needs from an office where laptops come and go. Weigh the ongoing cost against convenience, then verify support for your printer model and operating systems before choosing a sharing method.
| Sharing option | Cost to weigh | Availability |
|---|---|---|
| Host computer | No separate print server, but the computer must stay on | Printing stops when the host is off or disconnected |
| USB print server | Requires a separate device | Independent of a host computer, subject to network access |
| Router USB sharing | May use existing hardware | Depends on router support and printer compatibility |
Compare print-server costs with host-computer dependence
Buying a USB print server adds hardware cost, while sharing through a host computer avoids that purchase but ties printing to the host’s power and network connection. If that computer sleeps, shuts down, or leaves the office, other users lose access until it returns. For a home setup with a desktop that is already on throughout the day, host sharing may be the less expensive choice; a dedicated server avoids that dependency.
Check operating-system support, security, and network needs
Before choosing, confirm that the printer’s driver and the sharing method support each computer’s operating system, especially if your network mixes Windows, macOS, or Linux. A USB print server or router must also recognize the printer, not just provide a USB port. Check whether access is limited to your local network and whether the device receives security updates; an unsupported server on a shared office network creates an avoidable exposure.
To wrap up
Sharing a USB printer usually requires no new hardware: connect it to a host computer and enable operating system printer sharing, or use a compatible USB print server to avoid relying on one computer. Install the correct printer driver on each client, connect through the host’s network name or the print server’s address, and keep the host awake when others need to print. For reliable access, place the printer on the same trusted network as your computers and test a print job from each device.
FAQ
How much does it cost to share a USB printer with multiple computers?
Sharing a USB printer through a computer already on the network usually requires no new hardware, while a USB print server adds a device cost. The total depends on whether you need a compatible print server, cables, or additional drivers, and whether your printer and computers support the chosen method.
How long does it take to set up a shared USB printer?
A straightforward setup can take a few minutes, but allow longer if you need to install drivers or troubleshoot network access. Setup time depends on the printer model, operating systems, and whether you share through a computer or a compatible print server.
Can sharing a USB printer create security or privacy risks?
A shared printer can expose print access to other devices on the same network, so use trusted network settings and restrict sharing where possible. Avoid sharing it on public networks, and check whether the printer or print server stores documents or offers access controls.
Why can’t my computer find a shared printer?
A computer may not find a shared printer if the host is off, network access is interrupted, sharing is disabled, or the required driver is missing. Confirm that the devices are on a network that allows printer sharing, then check the host’s sharing settings and install a compatible driver.
Is a USB print server better than sharing a printer through a computer?
A USB print server can let computers print without relying on a host computer being on, but it must support the printer and its features. Sharing through an existing computer is often the simpler, lower-cost option if that computer stays on whenever others need to print.