
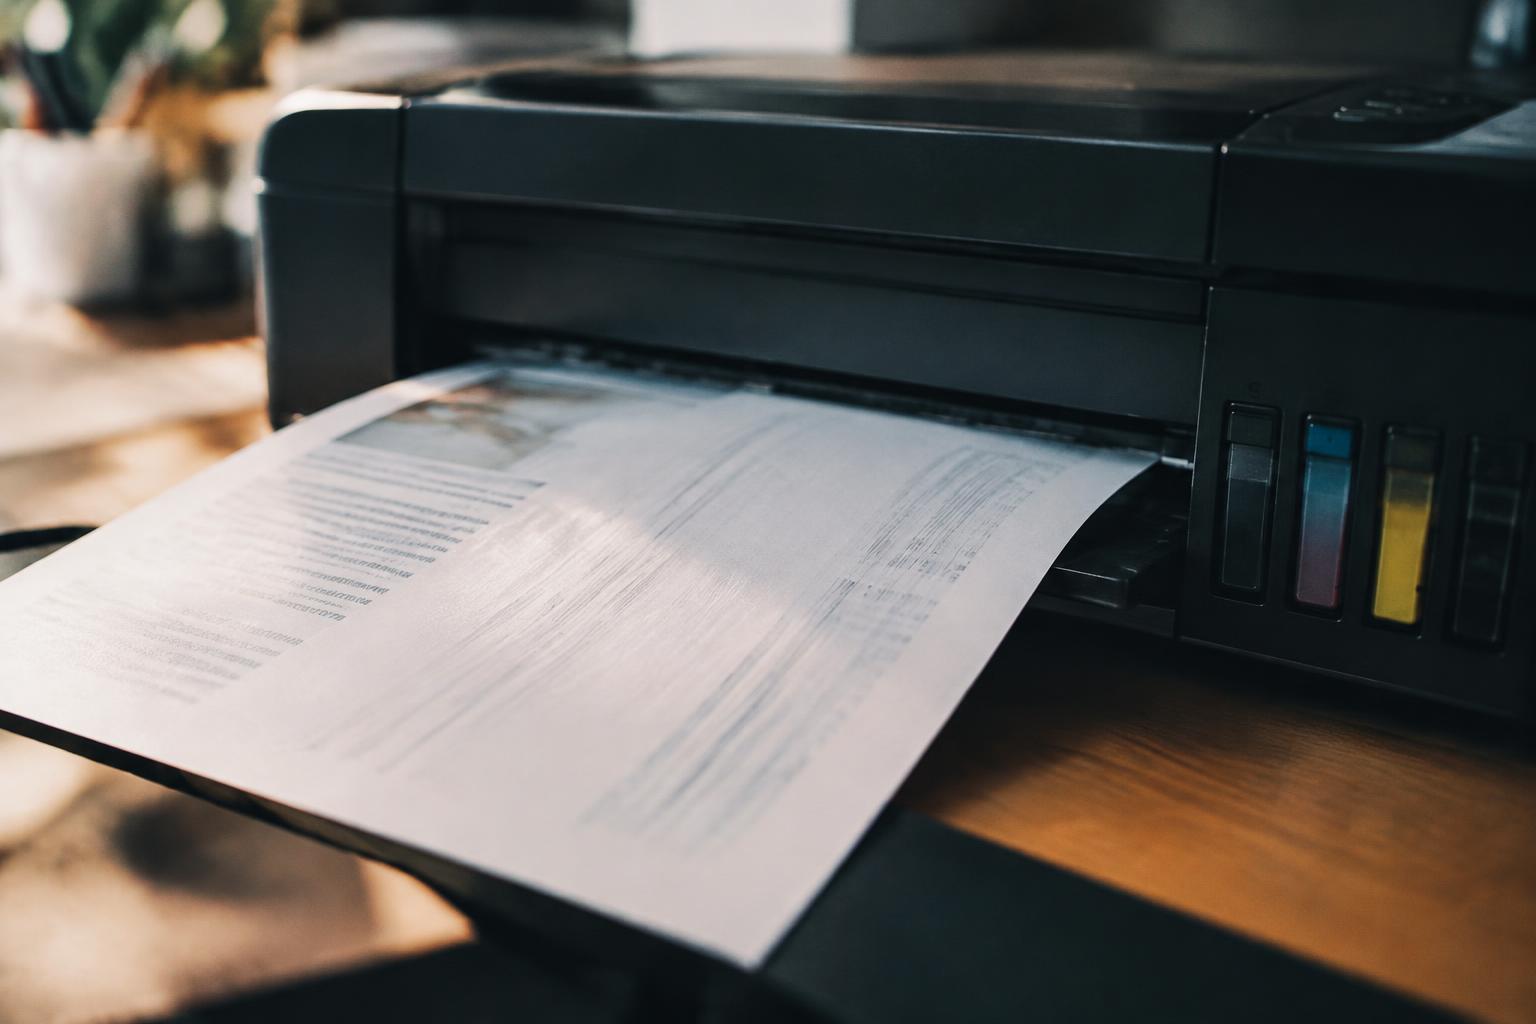
A partly blank page can signal more than an empty cartridge: dried ink, clogged printhead nozzles, or a document setting may interrupt printing while ink remains inside the cartridge. Your printer’s status display measures supply, not whether ink reaches the paper. Visible gaps reveal a printing fault, such as missing lines in a nozzle check or a blank section beneath a printed heading.
Key Takeaways:
- An ink level reading does not confirm that ink is reaching the paper. A clogged printhead nozzle, dried ink, or a poorly seated cartridge can leave streaks or blank bands.
- Blank areas can also come from the print job rather than the ink supply. Incorrect paper-size settings, a document’s layout, or a weak printer connection can interrupt or omit parts of a page.
- Use the printer’s nozzle-check pattern to distinguish printhead problems from document or connection faults. If the pattern has missing lines, run a printhead cleaning cycle; if it prints correctly, inspect the file and print settings.
How Printers Can Leave Blank Spaces Despite Having Ink
An ink gauge reports an estimated supply, not whether ink is moving through the system and reaching the paper. A page can therefore emerge with missing text or images even while the printer displays ink remaining. Treat the printed pattern as evidence of an output problem, rather than proof that the cartridge is empty: the same visible gap can affect one color, a narrow band, or a large area of the sheet.
What blank spaces look like
Blank areas appear as white streaks through letters, missing lines in graphics, or unprinted blocks where color should be. A repeated horizontal gap often runs across several lines at the same height, while a pale strip may follow one color channel through a photo. On a nozzle-check page, the pattern is easier to distinguish: individual segments are absent from the color grids, even though the printer has not reported an empty supply.
Why an ink-level reading can be misleading
Your printer usually estimates remaining ink from cartridge data or usage tracking, rather than measuring the volume that reaches each drop of paper. The displayed level can stay above empty when ink flow is interrupted, or appear adequate because the estimate does not reflect a blocked path. Ink remaining is not ink delivered: a color grid with missing lines demonstrates the difference between the reported supply and the printed result.
- Separate text pages from color graphics when noting where gaps occur.
- Record whether the blank area repeats in the same position across sheets.
- Keep the printer’s nozzle-check pattern with the affected printout.
Cartridge and Printhead Problems
Ink levels do not show whether ink is reaching the page: a cartridge can contain ink while a blockage or poor seal interrupts delivery. Inspect the cartridge and printhead path when blank areas recur in the same locations, since uneven output often points to a physical ink-flow problem. The exact symptom depends on the printer design, but dried nozzles, obstructed cartridge vents, and loose cartridge contacts each produce distinct print defects.
Clogged or dried-out printhead nozzles
Inkjet nozzles can clog when ink dries around their tiny openings, particularly after the printer sits unused or a cartridge is nearly depleted. A blocked nozzle leaves fine white lines, missing text strokes, or a blank band across the page. Run the printer’s built-in nozzle check, then use its printhead cleaning cycle if the pattern shows gaps. Repeated cleaning consumes ink, so inspect the test pattern before running another cycle; persistent gaps can indicate a stubborn nozzle blockage.
Blocked cartridge vents or protective tape
Cartridge vents admit air as ink leaves the reservoir; if a vent is covered by adhesive, debris, or leftover packaging tape, ink flow can falter despite a nonempty cartridge. Check the vent area specified by the cartridge label and remove only packaging material intended for removal. Avoid touching the ink outlet or electrical contacts, which can become contaminated. A covered vent often causes fading or intermittent blank areas, while intact airflow openings let ink feed normally.
Misaligned, damaged, or improperly seated cartridges
Cartridges that are not fully seated may fail to connect with the printer’s ink delivery or electrical contacts, producing missing colors or unprinted sections. Open the access panel, follow the manufacturer’s replacement instructions, and press each cartridge gently into its designated slot until its latch engages. Inspect for cracked housings, leaking ink, or bent contacts before reinstalling; damage can prevent a reliable seal. A cartridge that clicks into place and sits level is less likely to interrupt ink delivery.
| Problem | Common print symptom | Relevant check |
|---|---|---|
| Clogged nozzles | Fine lines or missing strokes | Print a nozzle-check pattern |
| Blocked cartridge vent | Fading or intermittent blank areas | Inspect the labeled vent opening |
| Poor cartridge seating | Missing colors or unprinted sections | Confirm the cartridge latch is engaged |
Print Settings and Document Issues
Software controls what reaches the page, even when the printer has ink available. A print preview can reveal whether blank areas are already present in the document output or appear only after printing. Review the application’s page setup, print dialog, and file rendering before changing printer settings. Document-side omissions often trace to a selected range, an incorrect layout, or an element that the software cannot render.
Incorrect paper size, layout, or print-area settings
Paper-size mismatches can shift or clip content: a document formatted for A4 may not align with Letter paper, leaving parts of a page unprinted. In spreadsheets, a restricted print area can exclude cells outside the selected range, while scaling or margin settings may push content beyond the printable page. Open Page Setup and Print Preview, then confirm the paper size, orientation, margins, and selected pages match the document.
Grayscale, draft, and color-management options
Print-dialog options can suppress particular content without changing the file. Draft mode reduces ink coverage, and grayscale printing converts colors to shades of gray, which can make pale text or light graphics appear blank. Color-management settings may also affect how a document’s colors are mapped to the printer. Review the application and driver options, especially “print in grayscale,” “toner save,” and any setting that omits background colors or images.
Missing fonts, images, or document elements
Fonts that are unavailable or not embedded in a PDF can be substituted during rendering, causing characters to disappear or spacing to change. Linked images may also be missing if their source file was moved, while layers, comments, or background graphics can be excluded by export or print options. Check the file itself by opening it in another compatible application and inspecting the affected page at high zoom for absent fonts, broken image links, or hidden layers.
- Print a single affected page from the application.
- Save a fresh PDF copy and inspect its preview.
- Confirm spreadsheet scaling is set to fit the intended page.
Connection, Paper, and Printer Hardware Faults
Gaps can appear even when your ink supply is adequate if data fails to reach the printer intact, paper moves unevenly, or a component cannot transfer ink or toner consistently. These faults often produce repeated blank bands, missing sections, or marks in the same position across multiple pages. The pattern can point to the source: a break across the full page suggests interrupted data, while a narrow unprinted strip may follow the paper’s edge or a worn component. Recurring page patterns are useful clues.
| Visible pattern | Possible source | Typical effect |
|---|---|---|
| Large missing sections | Connection or data interruption | Incomplete page content |
| Repeated horizontal bands | Paper-feed roller or feed issue | Gaps at regular intervals |
| Fixed unprinted strip | Printhead or imaging component | Blank area in the same position |
Interrupted print jobs or faulty connections
A loose USB cable, unstable Wi-Fi link, or stalled print spooler can interrupt the stream of page data before the printer finishes rendering it. Your document may emerge with a missing block, an abrupt cutoff, or an entirely blank page even though the device received part of the job. Incomplete data transfer is more likely when the gap changes location between attempts. A damaged cable or weak wireless signal can disrupt larger files, such as image-heavy PDFs.
Paper-feed and roller problems
Worn pickup rollers, skewed paper, or sheets loaded against a misaligned guide can make the page advance unevenly beneath the print mechanism. As a result, ink or toner may miss a band, or printed content may shift while a strip stays blank. Uneven paper movement often leaves repeated horizontal gaps, especially when the same tray feeds every affected page. Dust, paper fibers, and a curled sheet can also interfere with roller grip.
Failing printheads or other printer components
A failing printhead, transfer roller, encoder strip, or internal sensor can prevent the printer from placing material across part of the page. In an inkjet, a damaged printhead may leave a persistent blank line; in a laser printer, a worn transfer component can create repeated unprinted bands. Fixed-position gaps across different documents point toward hardware rather than file content. Mechanical wear often produces the same defect at the same location on successive sheets.
How to Diagnose the Cause
Follow a controlled test sequence, changing one variable at a time so each result points toward ink flow, software, or hardware. Start with the printer’s built-in output, then submit a different file and, if available, print from another device. Record where the blank areas appear and whether they affect the same colors or page positions. Keep the same paper loaded during these tests, and note any printer messages or unusual sounds.
Print a nozzle-check pattern
Use the printer’s maintenance menu to print a nozzle-check pattern, which tests ink delivery without relying on a document or computer driver. Examine each color block and fine-line grid for missing segments, gaps, or streaks. A pattern with breaks in one color points toward an ink-flow or printhead issue; a clean pattern shifts attention toward the file, application, or connection. Save the sheet so you can compare its marks with the original blank areas.
Compare results from another document or device
Print a simple test page, such as a plain-text file with a small color block, from the same application. Then send that file from a second application or device, keeping the printer and paper unchanged. Repeatable blank areas across unrelated files and devices suggest a printer-side fault; defects limited to one file or app point toward its content or print settings. Note whether the missing content stays in the same location or changes with the source.
Check cartridge status, connections, and paper handling
Read the printer’s cartridge-status screen, then inspect each cartridge for a warning, incorrect seating, or a protective seal left in place. With the printer powered off, confirm cartridges are seated and accessible connections are secure; avoid touching the electrical contacts. Check that the paper guides are snug and the sheets feed squarely, since skewing or a feed obstruction can leave unprinted bands. Record any error code shown on the panel.
- Use the printer’s own control panel for the nozzle check.
- Keep paper type and tray unchanged between test prints.
- Record which colors and page areas are missing.
Fixes to Restore Complete Printing
Start with the least disruptive remedies, then print a short test page after each change so you can tell what corrected the gaps. Cleaning, cartridge reseating, driver updates, and print-quality settings address many routine faults without replacing parts. A pattern of horizontal lines can point to clogged nozzles; this advice on blank lines despite acceptable print quality describes a similar symptom. Keep the printer’s model and the test results nearby as you work.
Clean and align the printhead
Run the printer’s built-in printhead cleaning cycle from its maintenance menu, then print a nozzle-check pattern to see whether any color or line remains broken. If gaps persist, repeat cleaning only as the manufacturer permits, since repeated cycles use ink. After cleaning, run printhead alignment and follow the prompts, placing the printed alignment sheet on the scanner glass when required. A clean, correctly aligned nozzle pattern should show continuous lines and distinct color blocks.
Reinstall or replace cartridges
Open the cartridge access door and wait until the carriage stops before handling cartridges. Remove each one, confirm that all protective tape is off and the vents are unobstructed, then reseat it until its latch clicks. Avoid touching the copper contacts or ink nozzles, which can cause damage or transfer oils. If the printer still reports gaps, install a cartridge compatible with your exact model; do not force a cartridge that resists seating.
Review settings, drivers, and firmware
In the print dialog, select the correct paper type and a standard or higher quality mode; draft settings can leave lighter areas, especially on images. Check that the document’s page size matches the loaded paper, then update the printer driver through the manufacturer’s support page for your operating system. Install firmware only through the printer’s official utility, and keep power connected during the update. A fresh test page will show whether the changed settings restored full coverage.
| Step | What to do | Result to check |
|---|---|---|
| Clean | Run nozzle cleaning and alignment | Continuous test-pattern lines |
| Reseat | Remove and click cartridges back in | No cartridge warning or missing color |
| Adjust | Set paper type and print quality | Even coverage on a test page |
| Update | Install the correct driver or official firmware | Printer responds with the intended settings |
Preventing Blank Spaces in Future Print Jobs
Consistent print quality depends on habits that protect both the ink delivery system and the printer’s operating instructions. Build routine maintenance into your regular use, and follow the manufacturer’s storage and supply guidance rather than waiting for a defect to appear. A short preventive routine is especially useful in home offices where printers sit idle between occasional jobs, while shared workgroup printers benefit from clear handling practices at the device.
Print regularly and store cartridges correctly
Run a small color or black-and-white print job every few weeks so ink continues moving through the nozzles, particularly if your printer sits unused. Store spare cartridges in their sealed packaging in a cool, dry place, away from direct sunlight and heat vents. Keep them upright when the manufacturer specifies that position, and install each cartridge promptly after opening to limit exposure to air that can dry ink at the outlet.
Keep printer software and firmware current
Use the printer maker’s support application or official website to install the correct driver updates for your operating system and printer model. Updated software can resolve print-processing faults, while firmware updates address device-level behavior; avoid interrupting a firmware installation, since loss of power can leave the printer unusable. On a shared computer, confirm that the updated driver is selected as the default before sending a document with color graphics or fine text.
Use compatible paper and supplies
Match paper to the job and the printer’s specifications, such as plain paper for routine documents and coated inkjet paper for photographs. Load sheets with the recommended side facing the printhead, and keep the stack dry, flat, and free of curled edges. Choose compatible cartridges listed for your exact model, since a cartridge that fits physically may still deliver ink poorly or fail to communicate with the printer. Avoid paper with dust or damaged coatings.
- Close the paper tray when it is not in use.
- Keep the printer’s ventilation openings clear.
- Use the printer’s control panel to review maintenance alerts.
Summing up
Blank spaces do not necessarily mean your printer has run out of ink: clogged nozzles, a poorly seated cartridge, incorrect print settings, or a paper-feed fault can all interrupt output. Check the printed page pattern, run the printer’s nozzle check, and confirm the document preview and paper alignment before replacing supplies. If cleaning does not restore missing lines, inspect the cartridge contacts and printhead, then consult the printer’s maintenance instructions for the model-specific next step.
FAQ
Why does my printer leave blank spaces on pages even when the ink is not empty?
A printer can leave blank spaces when ink cannot flow properly, print settings omit content, or a connection, paper-feed, or hardware fault interrupts printing. An ink-level reading does not confirm that ink is reaching the page, so a nozzle-check pattern can help identify an ink-flow problem.
How long does it take to fix blank spaces on a printed page?
A simple fix, such as reseating a cartridge or correcting a print setting, may take only a few minutes. Cleaning a printhead or troubleshooting a driver can take longer, and repeated cleaning may be needed if nozzles are badly clogged.
Can printhead cleaning damage my printer or waste ink?
Printhead cleaning is a standard maintenance function, but it uses ink and repeated cycles can deplete cartridges. Follow the printer’s instructions and avoid running many cycles in succession, especially if the nozzle-check pattern does not improve.
Should I replace the ink cartridge if parts of my document print blank?
Not necessarily, because blank areas can result from blocked nozzles, incorrect settings, missing document elements, or a connection problem. Check the nozzle pattern and cartridge installation first; replace the cartridge if it is empty, damaged, or still fails to supply ink after appropriate troubleshooting.
What can I try if my printer still leaves blank spaces after cleaning the printhead?
Check that the cartridges are seated correctly, their vents are clear, and the document and paper settings match the job. If a nozzle check remains incomplete or printing fails across multiple documents, the printhead or another printer component may need service.