
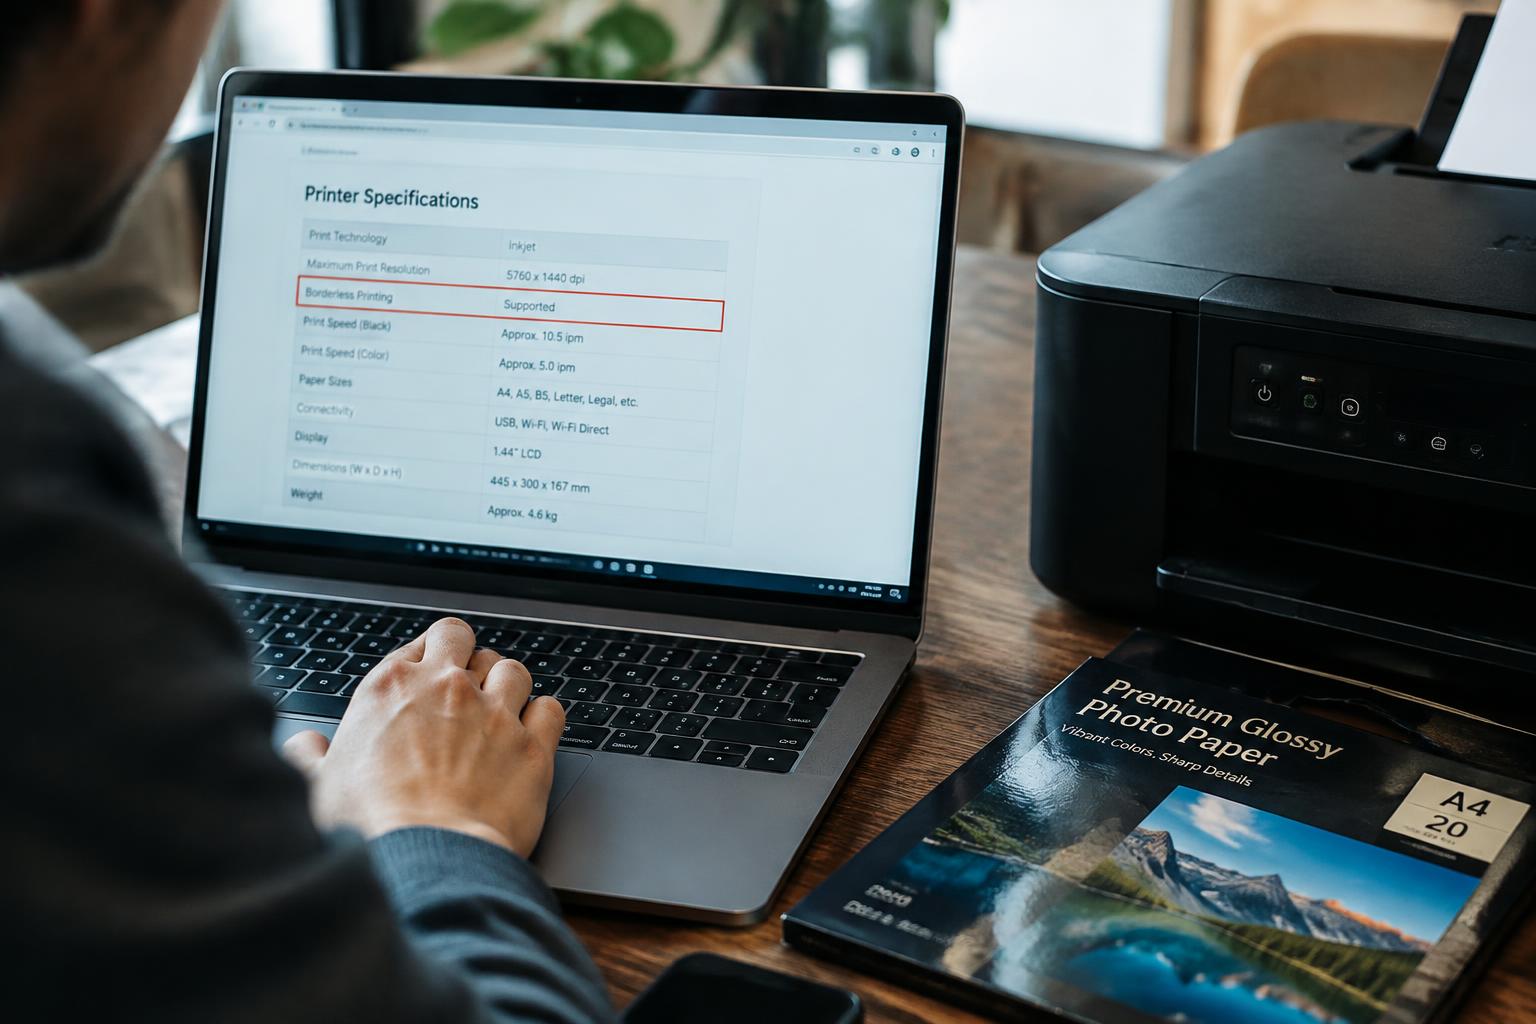
Borderless photo paper cannot make a printer print to its edges; the printer and selected paper size must support that feature. Before you buy, check the model’s specifications and print settings for borderless support, since a mismatch can leave unwanted white margins. Canon’s Print without a Border (Windows) – TS8320 shows how this setting appears for one printer model.
Key Takeaways:
- Check the printer’s official specifications for borderless printing and supported paper sizes. A printer may support borderless output only on selected sizes, such as 4 × 6-inch photo paper.
- Open the printer driver’s paper-size and layout settings to confirm that a borderless option appears for the paper you plan to use. The option can depend on the selected media type and size.
- Match the photo paper size and type to the printer’s listed borderless settings. Some printers leave narrow margins on larger sheets or require compatible glossy photo paper for edge-to-edge printing.
Check Your Printer’s Borderless Printing Specifications
Borderless capability depends on more than the printer’s ability to print to the edge; it is also restricted by supported paper sizes and media settings. A model might offer borderless output on standard photo dimensions while requiring margins on larger sheets or specialty stock. Read the specifications for the exact combination you plan to use, such as a 4 × 6-inch sheet set to a photo-paper media type, rather than relying on a general “borderless” feature label.
| Specification detail | What to look for | Example entry |
|---|---|---|
| Borderless size | Named dimensions supported without margins | 4 × 6 inches |
| Media type | Paper categories available for that size | Photo paper |
| Feed source | Tray or rear feed specified for the media | Rear paper feed |
Find the printer’s model number
Start with the complete model number printed on the printer’s front panel, rear label, or setup page. Include any suffix that distinguishes regional versions or product variants, since related models can differ in borderless size support and media handling. If the printer is already connected, its name in your computer’s printer settings can confirm the model family, but use the physical label to capture the full identifier, such as the letters and numbers following the series name.
Check the official specifications or manual
Look up the exact model on the manufacturer’s product-support site, then open its specifications or downloadable manual. Find the sections listing paper sizes, print margins, supported media types, and feed sources; borderless dimensions are often stated separately from ordinary printable sizes. Confirm that the specification names borderless printing for the relevant media category, not merely photo printing. A manual entry that lists “4 × 6 in, borderless” provides more useful confirmation than a general description of photo-quality output.
Confirm borderless printing is supported for your chosen paper size
Match your intended sheet dimensions to the printer’s borderless-size list, including units and orientation. A printer that supports edge-to-edge 4 × 6-inch output does not necessarily support borderless 5 × 7-inch or A4 printing. Check that the size is listed alongside the appropriate photo media type, because support can vary by stock category or feed source. If the manual marks a size as borderless only from a specific tray, that restriction applies to that exact paper size.
Verify Borderless Printing in the Driver or Print Settings
Printer software provides the clearest confirmation that borderless output is available for your setup. Open the installed driver or print dialog and inspect its options for the selected printer, rather than relying on a product description alone. Look for settings that explicitly control edge coverage, then confirm they remain selectable after you choose your desired output options. A visible, active control is stronger evidence than a feature listed only in a general specification sheet.
Look for a borderless or edge-to-edge setting
Open the printer’s full driver window, since basic print dialogs sometimes hide manufacturer-specific controls. Look for labels such as Borderless, “Edge-to-edge,” or “Print without borders” in the layout or page setup area. Select the option and check that it stays active rather than turning gray or disappearing. Some drivers also show an expansion or enlargement control, which indicates how the image extends beyond the printable area.
Check supported paper sizes and print quality options
Once borderless mode is visible, inspect the paper-size menu and print-quality controls in the same driver. Borderless printing is often offered only for selected presets, and some quality choices may vanish when you enable it. Confirm that the relevant size appears alongside the borderless setting, then note whether the driver offers standard, high, or photo quality. A preset labeled “Borderless 4 × 6” is more useful evidence than a separate size entry alone.
Confirm the setting is available for the intended paper type
Paper-type selection can change which driver features remain available. Choose the closest intended media label, such as glossy photo paper or matte photo paper, and see whether borderless mode stays enabled. If the setting becomes unavailable, the driver does not support that combination under the selected configuration. Also inspect any media-specific quality choices, since a glossy preset may expose photo quality while a plain-paper preset offers only standard output.
- Record the driver version shown in printer properties.
- Check whether the printer name identifies the exact model.
- Reopen the dialog after changing presets to verify selections persist.
Match Photo Paper to Printer Limits
Printer compatibility depends on more than the borderless setting: the paper must fit the printer’s supported dimensions, thickness range, media profiles, and feed path. A glossy sheet that matches the listed size can still cause trouble if its coating or stiffness falls outside the printer’s specifications. Check the manual or manufacturer’s specifications for the exact model, including any distinction between rear, cassette, and manual feeds, before choosing a paper pack.
Check the paper’s dimensions and thickness
Start with the printer’s supported paper-size list and match it to the package dimensions, since borderless printing is often limited to particular sizes. Then check the printer’s media-weight or thickness limits; manufacturers may state these as paper weight, thickness, or supported media types. Size and thickness limits can differ by feed path, so a sheet accepted by a rear slot may not suit a standard cassette. Confirm both specifications for the tray you plan to use.
Review paper-type and tray compatibility
Printer manuals and driver menus identify supported media categories, such as glossy photo paper, matte photo paper, or specialty stock. Select paper designed for your printer’s ink system, because dye and pigment inks can behave differently on coated surfaces. Tray-specific media support matters too: some printers reserve thick photo paper for a rear feed or single-sheet path, while others accept it through a cassette. Match the paper’s listed type and feed instructions to the intended tray.
Watch for limitations on specialty and third-party paper
Panoramic sheets, fine-art papers, adhesive-backed media, and third-party photo stock may fall outside a printer’s listed formats or coating specifications. Read the paper maker’s compatibility notes alongside the printer manual, paying particular attention to maximum thickness, recommended feed path, and ink type. Unsupported coatings or stiffness can cause feed errors, poor ink drying, or surface scuffing. A package labeled “photo paper” alone does not confirm compatibility with your printer model.
| Paper detail | Printer limit to check | Why it matters |
|---|---|---|
| Dimensions | Supported paper sizes | Borderless output may support only selected sizes |
| Thickness or weight | Media limits for the chosen feed path | Stock that is too thick may not feed correctly |
| Surface and ink type | Listed media categories and ink compatibility | Coatings affect ink drying and image quality |
| Feed method | Tray or slot requirements | Some specialty sheets require a rear or manual feed |
Test Before Buying Photo Paper in Bulk
Run a small trial with the printer, driver, and paper type you plan to use for finished photos. A single sheet exposes differences between the on-screen layout and the printer’s actual image area, while also revealing how the paper travels through the feed path. Use the same print quality and borderless options you expect to use later, and keep the test result as a reference print beside the printer.
Print a borderless test image
Choose an image with color and detail extending to all four edges, such as a landscape with a clear horizon and fine texture near the corners. In the print dialog, select the correct paper size and enable the printer’s borderless option before sending a single sheet. Use a small sheet of the intended photo paper, loaded in the tray’s specified orientation; note any enlargement setting the driver applies to fill the page.
Check for white edges, cropping, and uneven color
Inspect all four sides under bright, even light, looking for thin white slivers that signal incomplete edge coverage. Compare the corners with the original image to spot cropped details, especially faces, text, or objects placed close to the edge. Check for streaks, banding, and color shifts across the sheet, then examine the reverse for ink transfer or scuffing that suggests the paper rubbed against the printer’s rollers.
Adjust settings if needed
Correct the specific fault before printing another test sheet. A narrow white edge often calls for a borderless expansion adjustment, while excessive cropping points to a lower expansion setting or a revised image layout. If color appears uneven, confirm the selected media type and print quality match the paper, then run the printer’s nozzle check if bands persist. Change one setting at a time and record the driver selections that produce clean edges.
- Let the print dry fully before handling it.
- Use the printer’s rear feed for thicker sheets when specified.
- Keep the test image file unchanged between trials.
Buying Tips and Common Factors to Consider
Balance the printer’s supported media, the ongoing cost of ink and paper, and the kinds of photos you actually print. A compact home printer used for occasional snapshots has different needs from a photo printer handling full-page images, so paying extra for oversized glossy sheets may not make sense. Check the paper package quantity and the printer’s media guidance alongside the cost per finished print, especially if you expect to produce several copies of the same image.
Choose paper sizes your printer supports borderlessly
Match the paper dimensions to a size listed for borderless output in your printer’s specifications or driver, not merely to the tray’s maximum capacity. A printer might accept A4 paper for ordinary printing yet offer edge-to-edge printing only on smaller photo formats. Borderless size support is model-specific, and some devices restrict it to particular media types. A 4 × 6-inch pack is a poor fit if your printer’s borderless settings list only 5 × 7-inch and A4 photo paper.
Consider ink use and print quality
Borderless printing typically extends the image beyond the sheet edge, so the printer can deposit ink onto an internal absorber or platen area. Frequent full-bleed prints can use more ink than smaller images with margins, and heavy coverage may increase the need for maintenance. Choose paper designed for your printer’s ink system, such as dye-based or pigment-based ink, and assess the total print cost alongside color and detail. Fine gradients and skin tones reveal paper differences quickly.
Avoid relying on “borderless” paper labels alone
Packaging that says “borderless” describes a paper’s intended use, not a guarantee that every printer supports edge-to-edge output on that sheet. The driver must offer a matching borderless size, and the media type selected in its settings should correspond to the paper coating. Printer and driver compatibility determine whether the image reaches the edges; a glossy sheet labeled for borderless photos can still print with margins on a model that lacks the required setting.
| Buying factor | What to check | Why it matters |
|---|---|---|
| Paper size | Borderless sizes listed for your model | Supported dimensions vary by printer |
| Ink system | Paper compatibility with dye or pigment ink | Coating affects color and detail |
| Print frequency | Paper quantity and expected ink use | Full-bleed jobs can raise ongoing costs |
| Package labeling | Matching driver size and media settings | Paper labels do not confirm printer support |
Summing up
Before buying photo paper, confirm borderless printing in your printer’s specifications and print driver, then verify that the feature supports the paper size and media type you plan to use. A borderless option for 4 × 6-inch glossy paper does not guarantee edge-to-edge printing on every larger format. Check the printer manual for any required paper settings, and run a test print on a single sheet before purchasing a pack.
FAQ
How can I tell if a printer supports borderless printing before buying photo paper?
Check the printer’s official specifications or manual for borderless printing support at the paper size you plan to use. Support can vary by size and media type, so confirm that your intended paper is listed rather than relying on a general borderless feature.
How long does it take to check whether a printer can print photos without borders?
Checking the specifications and print settings usually takes only a few minutes if you have the printer model and access to its manual or driver. A physical test takes longer because you need compatible paper and time to inspect the print for cropping or feed problems.
Can borderless printing waste photo paper or ink?
Yes, borderless printing can use extra ink and may crop the image slightly to cover the edges. The amount depends on the printer, settings, and image, so test one sheet before printing multiple copies or buying paper in bulk.
Why is the borderless option missing in my printer settings?
The option may be unavailable because the selected paper size, paper type, print quality, or feed source does not support borderless printing. Check the printer’s supported combinations and choose a compatible setting; some printers also require the manufacturer’s driver rather than a generic driver.
Is photo paper labeled borderless compatible with any printer?
No, a borderless label on photo paper does not mean every printer can print to its edges. Compatibility depends on the printer’s supported paper dimensions, media types, thickness limits, and feed requirements, so check those details before buying.