
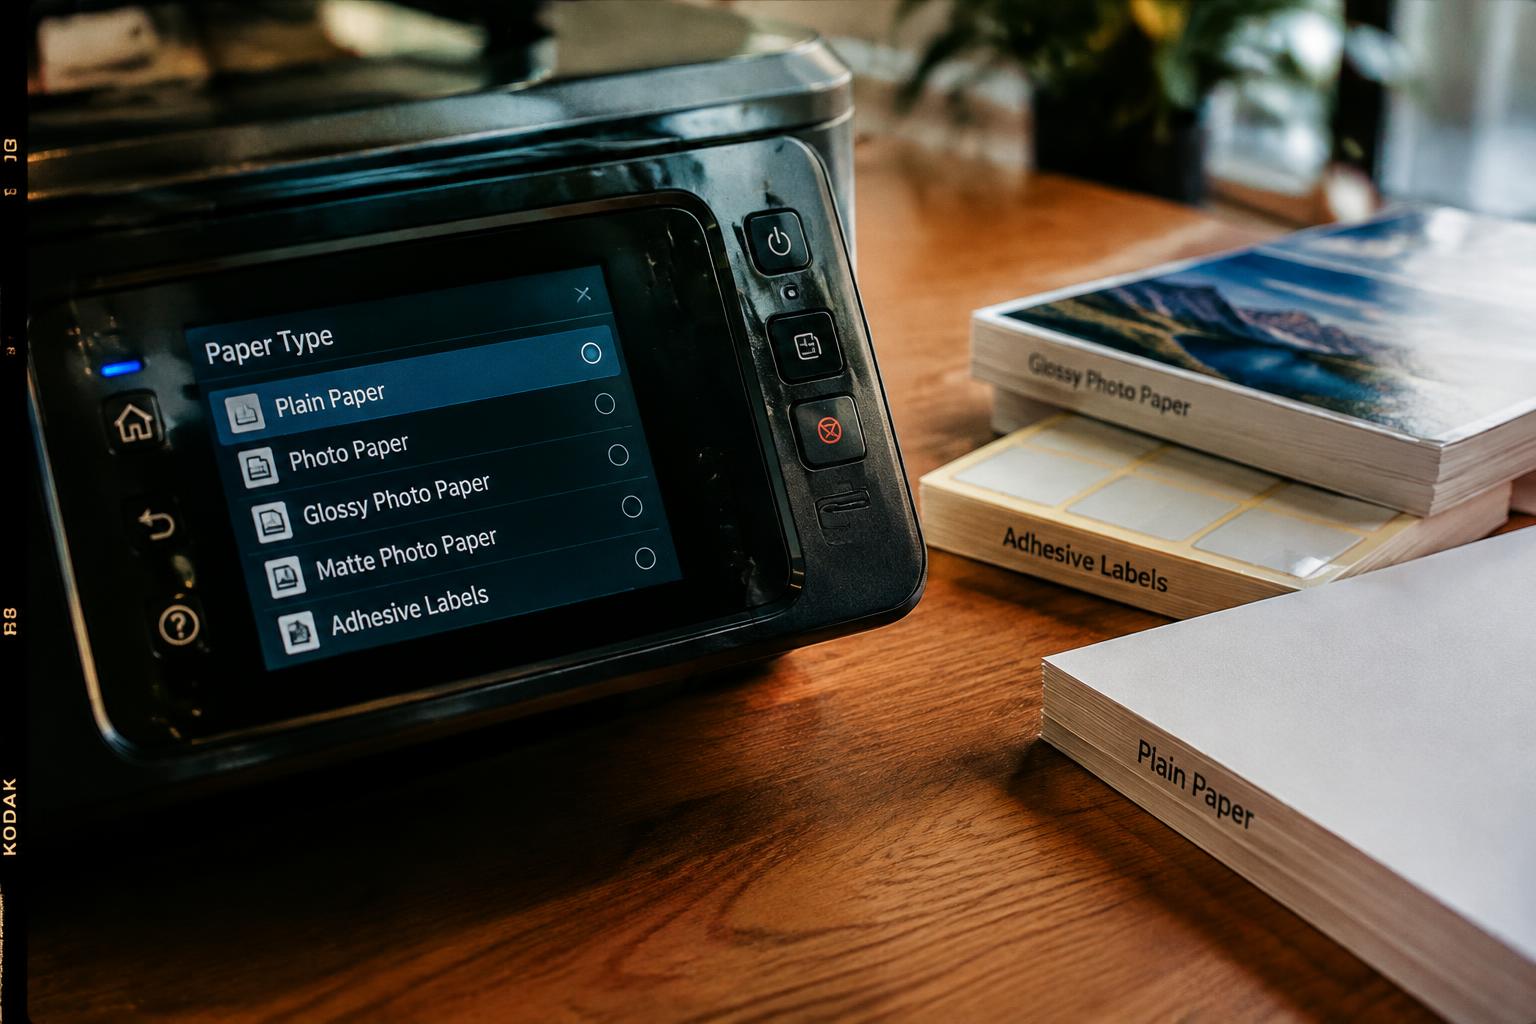
A printer’s paper type setting controls how ink or toner is applied, so the wrong choice can leave photos dull, labels smeared, or documents poorly defined. Match the setting to the paper’s surface and weight, not just its intended use. Glossy photo paper needs a photo setting, while ordinary copier paper typically calls for plain paper.
Key Takeaways:
- Match the printer’s paper type setting to the paper’s coating and weight: choose a photo-paper option for coated photo stock, a label setting for compatible label sheets, and plain paper for standard documents.
- For photos and labels, use the setting specified by the paper manufacturer when available. The printer adjusts ink application and feed behavior to suit the selected media.
- For everyday documents, select plain paper and the appropriate print quality. If output looks streaky, smudged, or poorly aligned, confirm the paper type setting before changing other print options.
Understand Paper Type Settings
Paper type is a print-driver instruction, not a physical change to the sheet in the tray. Your printer uses it to coordinate ink delivery with the selected print mode, affecting how colors appear, how much detail reaches the page, and how long a job takes. Because the setting influences the printer’s response to the media, a mismatch can produce muddy colors, slow drying, or uneven coverage even when the file itself looks correct on screen.
What paper type settings control
In the print dialog, the paper type setting tells the printer which surface and absorption behavior to expect. That instruction shapes choices such as ink limits, droplet placement, and color processing, while the quality mode determines how carefully the printer renders fine detail. These controls work together: a setting intended for coated stock changes the way ink is placed compared with one intended for plain paper. Your document’s colors and edges therefore depend partly on the printer’s media profile.
How the selected setting changes ink application and print speed
Choosing a different media profile changes how much ink the printer lays down and how it spaces passes across the page. A profile that applies more ink can deepen color, but excess ink on a surface that absorbs it slowly risks smearing or pooling. Higher-quality modes often use additional passes or finer placement, so the printer moves more slowly than it does in draft mode. That difference is visible in dense color areas and small text near page edges.
- Driver profiles can adjust black ink use as well as color ink.
- Borderless modes may extend ink beyond the page edge.
- Print quality and paper type are separate controls in many drivers.
Choose Settings for Photos and Labels
Match the printer’s media setting to the surface and thickness of the sheet, not just its intended use. The correct choice controls ink delivery, carriage clearance, and paper feed, so a mismatch can cause smearing or jams. Check the package for the paper type and confirm that the printer supports it, particularly for coated photo media and adhesive label sheets. Use the specific setting named by the manufacturer when available, such as glossy photo paper or labels.
Photo paper types and finish
Glossy, semi-gloss, and matte photo papers have different coatings, so choose the matching option in the print dialog. A glossy-paper setting typically lays down ink for a coated surface, while matte media uses a different ink application; the wrong selection can leave prints wet or dull. For double-sided or specialty stock, follow the paper maker’s printer guidance. Select borderless photo only when the sheet size and printer support it, and load the printable side as indicated on the wrapper.
Label materials, compatibility, and feed considerations
Choose a label setting only for sheets listed as compatible with your printer type, since inkjet and laser coatings are not interchangeable. Never feed laser-only labels through an inkjet printer, or inkjet-only stock through a laser printer, where heat can affect the adhesive. Set the media type specified by the label maker, and select a heavier-paper option only if the printer permits it. Load full, flat sheets in the supported tray, with labels firmly attached to the backing.
| Media | Setting to select | Key compatibility point |
|---|---|---|
| Glossy photo paper | Glossy photo | Load the coated printable side correctly |
| Matte photo paper | Matte photo | Match the coating listed on the package |
| Inkjet label sheets | Label or maker-specified media | Use only with compatible inkjet printers |
| Laser label sheets | Label or maker-specified media | Use only with compatible laser printers |
Set Up for Everyday Documents
For routine printing, match the driver’s media setting to the paper loaded in the tray, then select the appropriate paper size and feed source. The setting controls how the printer handles the sheet, including ink delivery or toner fusing, so an accurate match supports consistent text and graphics. Choose plain paper for standard office stock, and reserve specialty settings for media with different weight or surface characteristics. Keep the selected size aligned with the document’s page setup.
Plain paper and lightweight documents
For everyday letters, invoices, and draft reports, select Plain Paper or the printer’s equivalent setting. Standard copier and office paper generally feeds reliably with this option, while lightweight sheets are better suited to normal or draft quality than photo modes. Load the stack squarely against the tray guides and choose the matching size, such as Letter or A4. For duplex printing, use paper labeled for double-sided printing when available.
Envelopes, cardstock, and other specialty media
For envelopes, cardstock, and coated stock, select the closest matching media type in the print driver, such as Envelope, Heavy Paper, or Cardstock. Feed envelopes through the designated slot or tray, with the flap orientation shown in the printer manual. Check the printer’s supported weight range before loading thick sheets, since limits vary by model. Use the correct paper size and, for envelopes, set the document dimensions to the envelope format.
- Fan plain paper before placing it in the tray.
- Keep unused specialty sheets sealed in their packaging.
- Load envelopes with the seams and flap positioned as specified by the printer.
Check Key Factors Before Printing
Before selecting a media setting, match the paper’s physical properties to the image or text you need to produce and to the printer’s feed path. Weight and coating affect how sheets move through the rollers and how ink or toner sits on the surface. Printer limits matter just as much: a setting intended for thick stock will not make unsupported paper safe to feed. These checks apply whether you are loading photo paper, adhesive labels, or plain office sheets.
Paper size, weight, and surface
Start with the sheet dimensions, since a mismatch between the loaded paper and the document size can crop content or trigger a feed error. Then check the package for weight and finish. Glossy coatings suit many photo papers but can remain tacky if the printer uses incompatible ink, while matte or uncoated surfaces absorb ink differently. Heavy cardstock places more demand on rollers than standard copy paper, and label sheets should remain flat with intact edges.
Printer specifications and recommended media
Consult the printer’s media specifications for supported sizes, paper weights, and coating types, then match those limits to the stock’s packaging. Inkjet and laser printers handle coatings differently; laser-only labels should not enter an inkjet printer, and inkjet photo paper can be damaged by a laser printer’s heat. A rear feed slot often accepts thicker media than a standard cassette, but the device manual determines the permitted stock and route.
| Media factor | What to verify | Why it matters |
|---|---|---|
| Sheet size | Paper dimensions match the document | Reduces cropping and feed errors |
| Weight | Stock falls within printer limits | Supports reliable roller feeding |
| Coating | Surface suits inkjet or laser output | Prevents poor drying or heat damage |
| Labels | Sheet type matches the printer technology | Avoids adhesive or feed problems |
How to Select and Test a Setting
Use a consistent sequence to match the printer’s media option to the stock in the tray, then confirm the result with a small, representative print. Keep the document, paper brand, and print quality unchanged during the first test so the media setting is the only variable. Record the selected option beside the paper name, such as “matte photo paper, rear tray,” for a reliable reference the next time you load that stock.
Load paper and choose a matching media type
Start with the printer’s paper path: load the sheet according to its marked printable side and tray orientation, then set the driver’s media type to the closest named match. Choose “glossy photo paper” for coated, shiny stock, not plain paper; select the label or envelope option only when it matches the material loaded. Match the coating as well as the weight, since the setting controls ink delivery and handling. Keep the stack within the tray guides.
Print a test page and adjust as needed
Print a sample containing the same elements as your job, such as a photo with dark areas or a label with fine text, on one sheet of the intended stock. Let coated paper dry before judging color or smudge resistance. If the result looks too wet or faint, change only the media type to the nearest alternative and print another sample; keep a note of each setting. Test one variable at a time to identify which option produces clean edges and legible detail.
- Confirm the selected paper size matches the loaded sheets.
- Check that the printable side faces the correct direction.
- Use the printer’s rear feed for stock that resists bending.
Tips for Better Results and Troubleshooting
Small print defects often point to a mismatch between the selected media type and the way paper moves through the printer. Use a test sheet to separate settings problems from clogged nozzles, low ink, or damaged stock, then change one variable at a time. Keep your printer’s maintenance tools available, and let fresh prints dry before stacking them. A controlled sequence makes it easier to identify whether the cause is ink behavior, media handling, or a mechanical issue.
| Symptom | First check | Likely cause |
|---|---|---|
| Wet or smeared ink | Drying time and media setting | Ink laid down too heavily |
| Horizontal streaks | Nozzle check pattern | Clogged or misfiring printhead |
| Unexpected color | Ink levels and color mode | Low ink or incorrect output setting |
Avoid smudges, streaks, and incorrect colors
Fresh prints need time to dry, especially on glossy photo paper, so avoid touching the image or stacking sheets until the surface is dry. For persistent smudges, confirm that the driver’s media choice matches the paper and run the printer’s nozzle check; broken lines often indicate a clogged printhead. If colors look dull or shifted, inspect ink levels and disable unintended grayscale or draft mode. Keep the paper’s printable side facing the correct direction, as marked by its packaging.
Confirm feed direction and tray selection
Before loading labels or specialty sheets, identify the tray selected in the print dialog and follow the printer’s feed diagram. Many rear-feed paths accept thicker media more reliably than a standard cassette, while labels generally require a straight, supported path to prevent peeling inside the machine. Place the printable side as indicated by the tray icon, and align the guides snugly without bending the stack. For single-sided stock, a small test sheet confirms orientation before you print the full page.
To wrap up
Choose the paper type that matches the material in the printer, not just the document you are printing. Photo paper settings adjust ink delivery for coated surfaces, label settings account for specialty stock, and plain paper settings suit routine documents. Confirm the media option in the print dialog and load sheets according to the printer’s feed instructions. A test print on one sheet can reveal whether colors, text, and alignment are right before you print a full batch.
FAQ
How do I choose the correct paper type setting for photos?
Choose the setting that most closely matches the photo paper’s coating and finish, such as glossy or matte. If the package gives a specific printer setting, use that recommendation; otherwise, check the printer manual, since available options and ink behavior vary by model.
Can I use a photo paper setting for labels?
Use a label setting only if your printer supports the label material and the setting is intended for it. Labels differ in coating, thickness, and feed requirements, so check both the label packaging and printer specifications before printing to avoid jams or poor adhesion.
What paper setting should I use for regular documents?
Plain paper is usually the right setting for everyday documents printed on standard copy paper. Choose a different option for heavier, coated, or specialty stock, and confirm that the paper weight and size are supported by your printer.
Will the wrong paper type setting damage my printer?
A mismatched setting more commonly causes poor print quality, such as smudging, slow drying, or incorrect color, than printer damage. However, unsupported media can cause feed problems, so follow the printer’s media guidance, especially for thick paper, labels, and envelopes.
Do I need to print a test page after changing the paper setting?
A test page is useful when you are unsure whether a setting suits a particular paper, because it lets you check color, sharpness, and drying. For familiar plain paper and routine documents, testing every print job is generally unnecessary.