
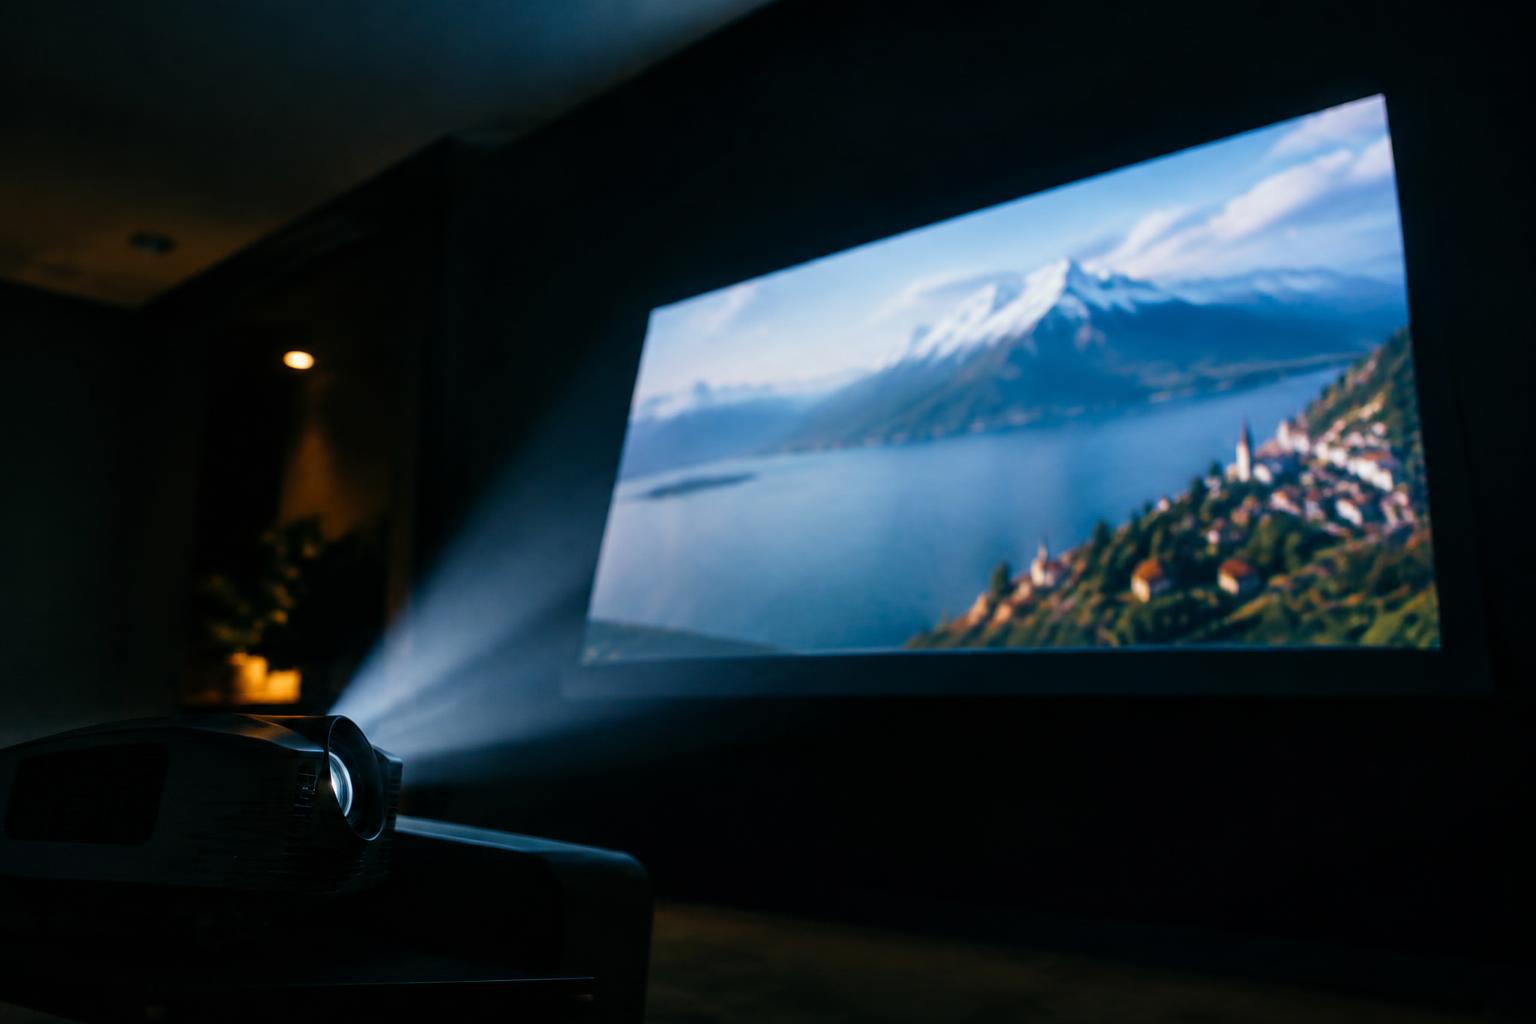
A projector can face the screen and still cast a trapezoid because its lens is not centered on the image, or its body is tilted vertically or horizontally. The beam must meet the screen perpendicularly to form a rectangle; even a small angle can widen one edge. Digital keystone correction can square the picture, but it may reduce image detail.
Key Takeaways:
- A projector can face the screen and still cast a trapezoid if its lens is above, below, or to one side of the screen’s center. The resulting off-axis projection makes the image wider at one end.
- Keystone correction reshapes the image electronically, but it does not physically square the projection or restore pixels lost through digital processing. Correcting the projector’s height, horizontal position, and angle addresses the source of the distortion.
- Lens shift moves the image optically without changing its shape, while tilting or swiveling the projector changes the projection angle. Use lens shift when available, then adjust placement until the projected edges align with the screen.
Why a Projector Can Produce a Trapezoid While Facing the Screen
Your projector can face the screen without sending its image squarely onto it. The picture’s shape depends on the relationship between the screen plane and the projector’s optical axis, the direction in which the lens projects light. A small difference in position or angle changes how far the beam travels to different parts of the screen, making one edge appear wider than the opposite edge. The lens and screen geometry, not just the projector’s apparent direction, determine the result.
| Setup detail | Geometric effect | Typical visible result |
|---|---|---|
| Lens angled relative to screen | Unequal projection distances | One side wider |
| Screen tilted | Screen plane is not square to the beam | Top or bottom edge wider |
| Uneven mount | Projector’s optical axis is rotated | Image edges converge |
The projector’s lens is not perpendicular to the screen
Even when the projector body points toward the screen, its lens may sit at an angle to the screen surface. In that position, the beam reaches the nearer edge before the farther edge, so the projected rectangle appears compressed on one side and wider on the other. Perpendicular alignment means the lens axis meets the screen at a right angle; a projector placed slightly off-axis can produce a visible trapezoid across a large image.
A tilted screen or uneven mounting changes the image geometry
A screen that leans forward or backward changes the plane receiving the projected image, even if your projector remains level. An uneven ceiling bracket or shelf can also rotate the lens axis, making the image’s top and bottom edges converge instead of remaining parallel. Check the screen frame and projector base with a spirit level, since a small twist at either point changes the geometry across the full projected rectangle.
How Lens Offset, Zoom, and Projector Placement Affect Image Shape
Before light reaches the screen, the projector’s lens design and position determine the beam’s angle and coverage. Lens offset shifts the image relative to the projector body, while zoom changes image size without correcting a tilted projection path. If the chassis sits off-axis or at an unsuitable height, the projected rectangle can become skewed despite the projector facing the screen. These effects depend on the model’s optical design and its placement range.
Lens shift versus digital keystone correction
Optical lens shift moves the image vertically or horizontally while keeping the projector’s lens plane aligned with the screen, preserving the image’s native pixel geometry. Digital keystone correction instead reshapes the image electronically, which reduces the number of pixels used across parts of the picture. For a projector with adjustable lens shift, optical adjustment retains more detail than digital correction; the available shift range is specified in the model’s manual.
Throw distance, height, and horizontal alignment
Moving the projector farther from the screen enlarges the image, while raising or lowering it changes where the beam meets the screen. A lens positioned above or below the screen’s centerline projects at an angle unless its offset is designed for that mounting position. Side-to-side displacement can also skew the image when the lens is not aimed squarely at the screen. The lens-to-screen path, not just the projector’s facing direction, determines the image’s shape.
- Fixed-lens models often require a specific mounting height.
- Short-throw lenses produce large images from nearby positions.
- Zoom range varies by projector model.
When Keystone Correction Helps-and What It Cannot Fix
Keystone correction is useful when a fixed mount or limited room placement leaves the projected image slightly skewed. The projector adjusts the image geometry electronically or through an optical mechanism, making the outline rectangular without moving the unit. Correction does not change the projector’s physical angle, however, and heavy adjustment can soften detail or reduce usable resolution. It cannot compensate fully for a projector aimed far off-axis or for a screen that is not flat.
Vertical and horizontal keystone settings
Vertical keystone adjusts the top-to-bottom taper that appears when the projector sits above or below the screen’s center; horizontal keystone addresses a left-to-right taper from an off-center position. Digital controls remap pixels, while lens-based correction changes the light path without the same pixel resampling. Large digital adjustments reduce image detail and can create uneven borders, so use only the correction needed to square the projected frame. A curved screen remains distorted even after keystone adjustment.
Image resolution, sharpness, and scaling trade-offs
Digital keystone correction scales and resamples the image to fit a rectangular area, leaving some pixels unused and potentially softening fine text or thin lines. The effect is more visible with small fonts, high-contrast edges, and detailed computer displays than with ordinary video. Optical correction preserves pixel mapping more closely, but its range depends on the projector’s lens design. For a 4K source on a lower-resolution projector, keystone processing cannot restore detail the display cannot reproduce.
| Correction method | What it changes | Typical trade-off |
|---|---|---|
| Vertical keystone | Top-to-bottom image taper | Digital processing can soften detail |
| Horizontal keystone | Left-to-right image taper | Large adjustments can reduce usable image area |
| Optical correction | Light path or lens geometry | Adjustment range is limited by lens design |
| Digital correction | Pixel placement and image shape | Resampling may soften text and fine edges |
How to Align the Projector and Screen Correctly
Begin with the projector’s physical geometry, since careful placement prevents trapezoid distortion at its source. Use the manufacturer’s throw-distance and lens-offset specifications to position the unit, then align the screen squarely with the projected image. Keep the projector’s body oriented toward the screen rather than relying on digital correction to compensate for an angled setup. A square optical path preserves image shape without cropping pixels or reducing resolution.
Center the lens and square the projector to the screen
Place the lens on the screen’s horizontal centerline, then point the projector straight at the screen so its front face is parallel to the screen surface. A tape measure can confirm equal distances from each side of the projector to the corresponding screen edges. Avoid aiming from a side table or turning the chassis toward one corner, since that creates unequal image widths. Lens-to-center alignment keeps the projected rectangle symmetrical.
Level the projector and adjust screen placement
Set the projector on a stable shelf or mount, then use a bubble level across its top to keep the chassis horizontal. Adjust the screen’s position or height to meet the lens rather than tilting the projector upward or downward. If the mount has adjustable feet, make small changes until the image edges run parallel to the screen borders. A level chassis prevents vertical keystone geometry at the top and bottom edges.
- Use the projector’s specified throw distance for your screen size.
- Secure ceiling-mount fasteners into suitable structural support.
- Keep the screen fabric taut and its frame securely mounted.
Troubleshooting a Trapezoid-Shaped Image
Persistent distortion after basic alignment points to a mechanical or optical issue rather than a simple aiming error. Inspect the projector’s mounting hardware, the screen’s frame, and any lens controls before changing digital correction again. Physical alignment comes first, since keystone processing can crop the image or soften fine detail. A loose ceiling plate, bowed screen, or stuck lens shift mechanism gives you a concrete place to begin.
Check for a tilted screen, mount, or projector
Use a spirit level on the screen’s top edge and the projector’s flat chassis, then inspect the mount for a sagging arm or loose adjustment joint. A screen that is not level can make a correctly aimed projector appear misaligned, while a projector pitched upward or downward changes the image shape. Tighten hardware only after supporting the projector, and look for uneven screen tension along the frame’s corners.
Inspect lens settings and test with a flat image surface
Set lens shift and zoom within their marked ranges, then confirm that the lens is not physically obstructed or visibly damaged. Disable keystone correction temporarily and project a grid or menu onto a flat, rigid surface, such as a smooth wall. If the grid remains distorted there, the lens or optical assembly may need service; if it appears square, inspect the screen fabric for wrinkles, bowing, or a warped frame.
| What you inspect | What to look for | What the result suggests |
|---|---|---|
| Screen frame | Uneven top edge or loose corners | Screen tilt or frame distortion |
| Projector mount | Loose joints or a sagging arm | Projector pitch has shifted |
| Lens controls | Shift at its limit or restricted movement | Placement or lens mechanism issue |
| Flat test surface | Grid stays trapezoidal with correction off | Possible optical fault |
Summing up
A trapezoid-shaped image usually means the projector’s lens is not perpendicular to the screen, even if the cabinet appears to face it. Ceiling or tabletop height, vertical lens offset, and uneven placement can all affect the projection angle. Repositioning the projector and leveling its lens corrects the geometry at its source; digital keystone correction is a useful fallback, but it can reduce image detail. A centered lens, a level projector, and a flat screen provide the most direct path to a rectangular image.
FAQ
Why does my projector display a trapezoid-shaped image even when it faces the screen?
A projector can show a trapezoid when its lens is not perpendicular to the screen, even if the projector appears to face it. A tilted screen, uneven mount, or lens offset can also affect image geometry, so check the projector and screen alignment before using keystone correction.
How do I fix a trapezoid image without losing picture quality?
Square the projector to the screen and level it, then adjust the screen or projector position until the image is rectangular. Digital keystone correction can help with small remaining errors, but it scales the image and may reduce sharpness; the amount depends on the correction needed.
Can a projector screen cause a trapezoid-shaped picture?
Yes, a screen that is tilted, uneven, or not flat can make the projected image look distorted. Test the projector on a flat wall or another known-flat surface; if the shape changes, inspect the screen and its mounting before changing projector settings.
Is it worth using keystone correction instead of moving the projector?
Keystone correction is useful when you cannot reposition the projector enough to square it with the screen. Moving or aligning the projector is usually preferable because digital correction can reduce effective resolution and sharpness, especially when substantial adjustment is required.
What should I check if the image is still distorted after I align the projector?
Check that the screen is flat and level, the mount is secure, and lens shift or other lens settings are not affecting the image. If distortion remains on a flat test surface with the projector properly aligned, consult the projector’s setup guidance or have the equipment inspected.