
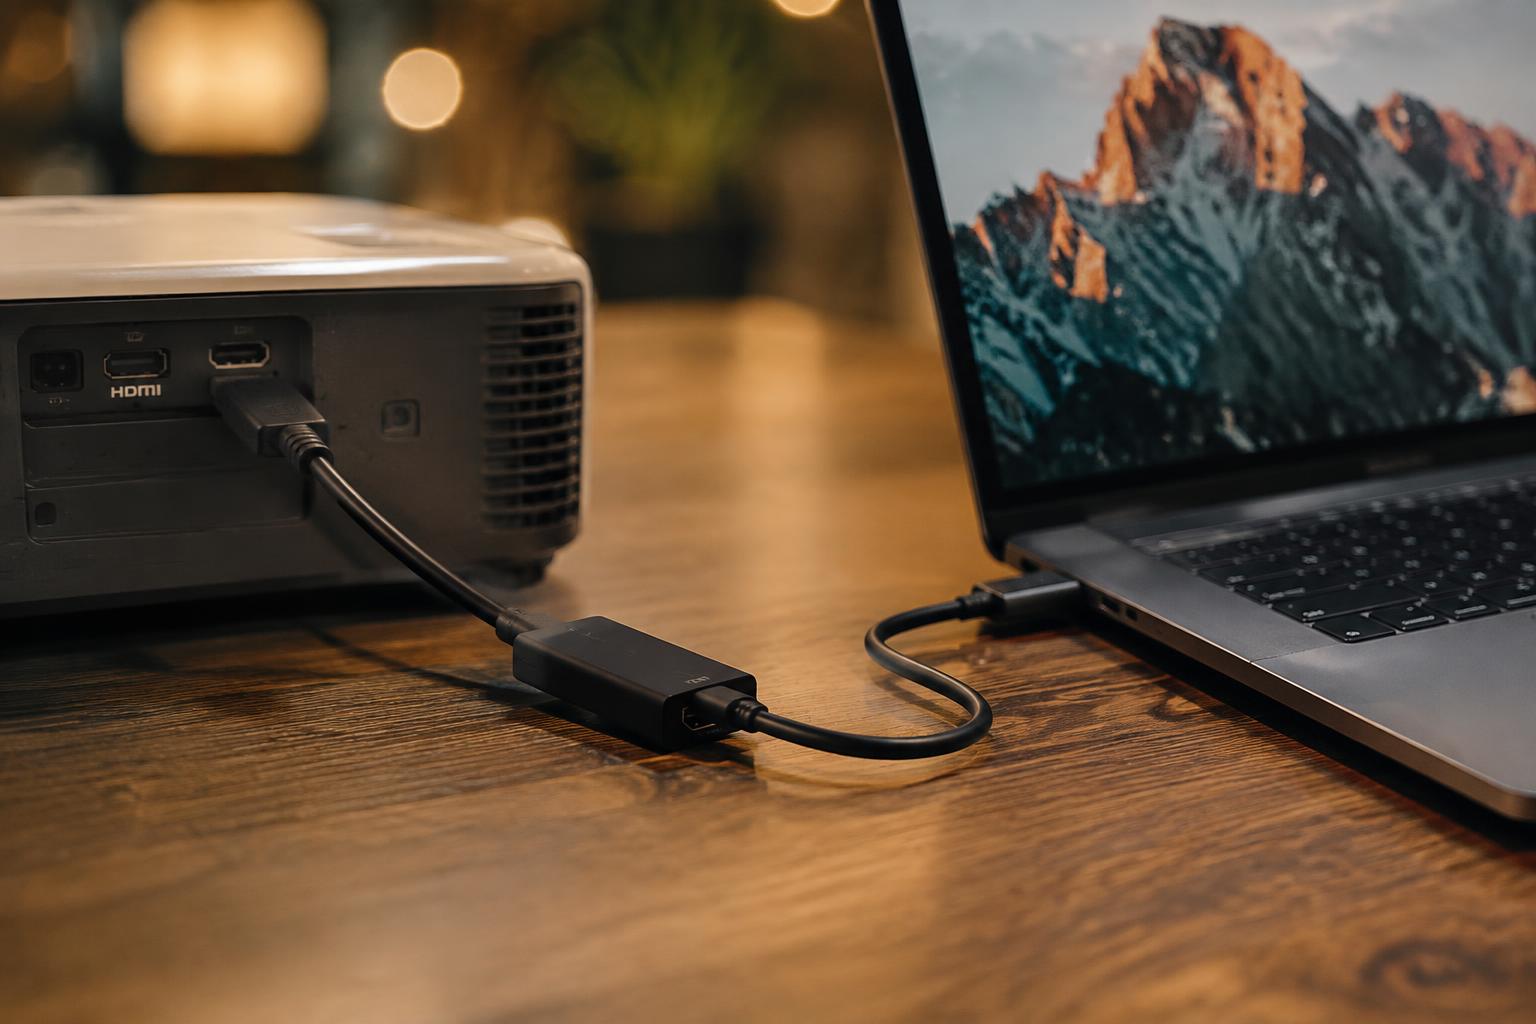
A laptop with USB-C and a projector with VGA or HDMI do not connect with a cable chosen by shape alone. You need an adapter that matches both the laptop’s video output and the projector’s input, plus a compatible signal path. USB-C does not always carry video, so confirm that capability before connecting your presentation equipment.
Key Takeaways:
- Identify the video ports on both devices before connecting them. Common combinations include USB-C on a laptop and HDMI on a projector, or HDMI on a laptop and VGA on an older projector.
- Use a cable or adapter that matches the laptop’s video output and the projector’s input. USB-C supports video only on ports that carry DisplayPort Alt Mode or Thunderbolt; a charging-only USB-C port will not send a picture.
- After connecting the cable, select the matching input on the projector and set the laptop to mirror or extend its display. Windows uses the display options opened with Windows + P, while macOS provides display settings in System Settings.
Identify the Ports on Your Laptop and Projector
Start by locating the video connections on both devices, then read the labels beside each socket or consult the device’s manual if markings are unclear. Shapes offer a useful first clue, but port labels matter because similar-looking connections can serve different purposes. Identify whether each port carries video, rather than assuming every USB-shaped socket sends a picture. Record the names you find, such as HDMI, DisplayPort, USB-C, VGA, or DVI.
Check the laptop’s output ports
Inspect the laptop’s sides and rear edge for an output marked HDMI or DisplayPort, both commonly used to send video to a display. A USB-C socket is oval and reversible, but its shape alone does not confirm video support; look for a DisplayPort symbol or check the laptop’s specifications. Older machines may have a blue, 15-hole VGA connector, while some use a white DVI port. Note the exact label and socket shape.
Check the projector’s input ports
Look across the projector’s connection panel for ports labeled HDMI, VGA, DVI, or DisplayPort, and distinguish inputs from any port marked “Out.” Projector inputs are often grouped together and numbered, such as HDMI 1 and HDMI 2. A VGA input has three rows of small holes, while HDMI is a narrower, flattened socket. Use the printed input label to identify the video connection, especially if the projector also has USB ports for service or media playback.
- Check the laptop’s product label for its model number.
- Use a flashlight to inspect recessed projector sockets.
- Look for bent pins inside a VGA connector.
Choose the Right Cable or Adapter
Port shape is only part of the match: your cable or adapter must carry the video signal supported by both devices. Check the laptop’s output and the projector’s input, then select a compatible connection rather than relying on a plug that merely fits. For a broader connection reference, see How to Connect Your Laptop to a Projector. Prioritize video compatibility and a secure connector fit.
Compare HDMI, USB-C, DisplayPort, VGA, and other options
HDMI is a common direct choice when both devices have HDMI ports, while DisplayPort carries video from compatible laptop outputs and projector inputs. A USB-C port supports video only when the laptop implements DisplayPort Alt Mode or another video function, so the connector shape alone does not confirm compatibility. VGA is an analog option on older equipment and does not carry audio. For USB-C to HDMI, choose an adapter designed for video output, not a charge-only accessory.
Select an adapter that supports the required resolution
Adapter specifications should match the resolution and refresh rate you intend to use, as well as the laptop’s output and projector’s accepted input. A converter with a lower supported limit can restrict the signal even when both ports otherwise match. For USB-C or DisplayPort conversion, verify that the adapter supports the relevant video standard; for VGA conversion, confirm that the device actively converts a digital signal to analog. Look for the stated resolution and refresh rate on the product specifications.
- Check whether the projector’s HDMI input also supports audio.
- Confirm the adapter’s connector gender matches the cable.
- Choose an active converter when converting digital video to VGA.
Connect the Devices Step by Step
With the connector types matched, handle the hardware in a clear order: make each cable connection, start the projector, then select the source that corresponds to the connected port. Keep the laptop and projector on a stable surface, and avoid pulling or twisting the cable while the equipment is running. A firm connection at both ends reduces interruptions caused by a loose plug, especially with heavier HDMI adapters or cables that place pressure on a laptop’s port.
| Step | What to do | What to verify |
|---|---|---|
| Connect | Seat the cable or adapter at both devices | Plugs sit firmly without strain |
| Power on | Start the projector using its power button | The projector completes its startup cycle |
| Select input | Choose the port used for the connection | The selected source matches the cable |
Connect the cable and power on the projector
Place the laptop and projector where the cable reaches without tension, then insert each plug straight into its matching port. For an adapter, connect it securely to the laptop first, then attach the video cable to the adapter. Never force a connector; HDMI, DisplayPort, and USB-C plugs should seat smoothly, while VGA screws can be tightened by hand. Once both ends are secure, switch on the projector and wait for its startup screen.
Select the projector’s input source
Use the projector’s remote or control-panel button labeled Input, Source, or Video to open its source list. Select the entry that matches the physical port in use, such as HDMI 1, DisplayPort, or VGA. Match the port name exactly, especially when the projector has multiple HDMI sockets. Allow a moment for the selected input to register; the projector’s on-screen label should identify the chosen connection, such as HDMI 1.
Set Up the Laptop’s Display
Once the projector is connected, use your laptop’s display settings to choose what appears on the projection surface. The available modes determine whether the projector shows the same desktop as your laptop or acts as a separate workspace. Set the display arrangement before opening presentation materials, then confirm that text and images are legible from the viewing area. Display mode and output resolution are the two settings that most directly shape the projected image.
Choose a display mode
Windows offers duplicate and extend modes in the display controls, which you can open with Windows + P. Choose Duplicate to show the same image on the laptop and projector, a straightforward option for slides or video. Select Extend when you want separate content on each screen, such as presentation notes on the laptop and slides on the projector. On macOS, open Displays in System Settings and turn on mirroring or arrange the displays for an extended desktop.
Set a suitable resolution and refresh rate
Open the display settings for the projector and select a resolution it supports, preferably its native resolution for sharp text and graphics. A laptop set to a higher resolution than the projector accepts can produce a blank or distorted image, so use a supported option listed in the settings. Keep the refresh rate at a standard setting supported by both devices, often 60 Hz, and avoid changing it without a specific need.
| Setting | Choose | Typical use |
|---|---|---|
| Duplicate or mirror | Same image on both displays | Slides and video |
| Extend | Separate desktop areas | Presenter notes and slides |
| Resolution | Projector’s supported native setting | Clear text and graphics |
| Refresh rate | A rate supported by both devices | Stable image output |
Troubleshoot Common Connection Problems
A missing picture or a visibly degraded image usually points to a problem in the signal path or the laptop’s output configuration. Narrow the cause by changing one setting or connection at a time, then watch the projector’s status display for a response. Separate signal failures from image defects: “No signal” means the projector is not receiving a usable feed, while a soft or distorted picture indicates that video is reaching the screen but needs adjustment.
Check the cable, adapter, and input source
Start at the projector: select the input that matches the connected port, such as HDMI 1 or VGA, using its remote or control panel. Then reseat both ends of the cable and the adapter, since a loose plug can interrupt video while remaining powered. Inspect connectors for bent pins or physical damage, and test with a known-working cable if available. Match the selected input to the actual connection, not the port you intended to use.
Update display settings or drivers
Open your laptop’s display controls and select duplicate or extend so its video output is active; on Windows, use the display projection options, while macOS lists connected displays in System Settings. If the projector appears but shows a blank or distorted image, choose a resolution and refresh rate supported by both devices. Use a supported resolution, and install graphics driver updates from your laptop or GPU manufacturer if the external display remains undetected.
- Power-cycle the projector after changing its input.
- Disconnect a docking station to test a direct laptop connection.
- Disable HDR if the projected image has washed-out colors.
Tips and Factors for a Reliable Connection
Signal quality depends on more than matching connector shapes: the cable’s length, the adapter’s electronics, and each port’s supported video modes all affect what reaches the projector. A cable that works at a desk may be impractical across a room, while a low-quality adapter can interrupt a high-resolution signal. Check specifications for the laptop’s output and projector’s input, including resolution and refresh rate, before relying on a particular combination.
| Factor | What to check | Effect on performance |
|---|---|---|
| Cable length | Distance between devices | Long runs can weaken or disrupt the signal |
| Adapter quality | Supported resolution and refresh rate | Limited specifications can restrict the image |
| Port capability | Video output or input support | Matching shapes alone does not guarantee video |
Confirm compatibility before buying accessories
Check the laptop’s manual or manufacturer specifications to confirm that its USB-C port supports video output; some USB-C ports handle data or charging only. Match the adapter’s supported resolution and refresh rate to the projector’s input, and verify that any HDMI or DisplayPort conversion works in the required direction. Port capability matters more than connector appearance: an adapter cannot add video output to a port that lacks it.
Keep spare adapters and avoid overly long cables
Pack a tested spare adapter if presentations depend on a less common connection, such as Mini DisplayPort or USB-C to VGA. Choose a cable long enough to reach the projector without tension, but avoid unnecessary length, which can make signal problems more likely, especially with passive or low-quality cables. Test the spare beforehand with your laptop and projector, and keep it with a compact HDMI cable in your presentation kit.
Summing up
Connecting a laptop and projector with different ports starts with identifying each device’s video output and input, then choosing a compatible cable or adapter, such as USB-C to HDMI or HDMI to VGA. After connecting them, select the projector’s matching input and set your laptop to duplicate or extend its display. If no image appears, check the adapter’s direction and the projector’s input selection. A direct digital connection, such as USB-C to HDMI, typically preserves image quality.
FAQ
How much does it cost to connect a projector to a laptop with different ports?
The cost depends on whether you need only a cable or a port-converting adapter. A basic cable is usually less expensive than an adapter, while active adapters that convert signals or support higher resolutions can cost more; check compatibility before buying.
How long does it take to connect a laptop to a projector with different ports?
A compatible cable or adapter usually lets you make the physical connection in a few minutes. Allow extra time to select the projector’s input and adjust the laptop’s display settings, especially if the devices do not detect each other automatically.
Can using the wrong adapter damage my laptop or projector?
A mismatched video adapter usually results in no picture rather than damage, provided it is designed for the ports involved. Avoid forcing connectors or using damaged accessories, and confirm that any USB-C port supports video output because USB-C alone does not guarantee it.
Why does my projector say no signal even though the cable is connected?
The projector may be set to a different input, or the laptop may not be sending video to the external display. Check the selected input, reseat the cable and adapter, then open the laptop’s display settings; a port or adapter that does not support video can also prevent a signal.
Is an adapter better than replacing my projector cable?
An adapter is a practical choice when the laptop and projector have different video ports and the adapter supports both devices’ connection standards. A direct cable with the right connectors is simpler when one is available, and may avoid compatibility issues with signal conversion.