
Sunlight through a window or an overhead lamp can wash out projected images, even with a bright projector. In a room that is not fully dark, screen material affects perceived contrast and color, so a standard white surface may look flat. Choosing an ambient-light-rejecting material suited to your projector and seating position can preserve picture detail without turning down the lights.
Key Takeaways:
- Ambient light washes out projected blacks and reduces contrast, so control window light and nearby lamps before choosing a screen material.
- For rooms with some light, an ambient-light-rejecting (ALR) screen can improve perceived contrast by directing projector light toward viewers and rejecting light from specific directions. Match its design to the projector type and the room’s light sources.
- Screen gain, viewing angle, and surface texture affect brightness and image uniformity. A matte white screen offers broad viewing angles, while an ALR surface can have a narrower viewing cone and stricter placement requirements.
Understand How Ambient Light Affects Projection
Stray light competes with the projector’s image across the screen, lifting dark areas and reducing perceived contrast. A bright image is not necessarily a clear one: room light reflected from the screen can make colors look washed out and fine detail harder to distinguish. The effect depends on how much light reaches the viewing area and where it lands. A dark scene, such as a night exterior, often reveals the loss of shadow detail first.
| Light condition | Typical image effect | Visible detail |
|---|---|---|
| Light falling on the screen | Washed-out colors and weaker contrast | Dark areas lose definition |
| Light near the screen | Uneven brightness across the image | One region appears flatter |
| Light behind the viewer | Reduced perceived image brightness | Subtle tones are harder to see |
Identify the sources and direction of room light
Start by locating windows, glazed doors, ceiling fixtures, and lamps, then note whether their beams strike the screen or the wall beside it. Direct light on the screen causes a more noticeable contrast loss than light that reaches the viewing area indirectly. A window behind the projector can also reflect off a glossy screen surface toward viewers. Track the sun’s path and fixture angles from your usual seat, especially for a screen facing a large uncovered window.
Consider how light levels change during viewing
Daylight shifts as the sun moves, while room lighting changes when you switch on lamps or open curtains. A setup that looks clear at dusk can appear washed out during a bright afternoon, particularly in scenes with deep shadows. Test at your usual viewing times, using the same seating position and typical lighting settings. Pay attention to dark scenes and muted colors, since those details become difficult to distinguish before bright highlights disappear.
Assess Your Room and Projector
Before settling on screen dimensions or a mounting location, record how the projector and room operate together during your usual viewing hours. Note the light sources that stay on, their direction, and whether they reach the screen or viewers’ eyes. Pair those observations with the projector’s rated brightness, lens range, and installation position. Your notes should describe the room as you use it, including daylight at the screen and the projector’s actual throw distance.
Check projector brightness and throw setup
Start with the projector’s lumen rating, then identify its model and lens specifications, since brightness alone does not show whether it can fill your planned screen from the available position. Measure from the lens to the screen plane, not from the back of the chassis, and confirm that the distance falls within the manufacturer’s throw range. Record any zoom setting or lens shift already in use; digital keystone correction can reduce usable image detail.
Measure viewing distance and screen size
Mark the main seating position and measure its distance to the proposed screen plane. Record the image width you can fit between nearby walls, shelves, or doors, then compare that width with the projector’s supported image range at its installed distance. A tape measure and painter’s tape make the projected boundaries easier to assess before installation. Keep the screen within the viewer’s comfortable field of view, with seating distance and image width recorded in the same units.
Note wall colors and seating positions
Inspect the wall and nearby surfaces under the lighting conditions used for viewing. Pale walls, glossy trim, and a light ceiling can reflect projector light back toward the image; dark, matte finishes reflect less. Mark each seat, including off-center positions, because viewing angle changes what each person sees across the screen. Record windows and lamps by location and direction, then note any direct light on screen and reflective surfaces nearby.
- Record whether room lights have dimmers.
- Check for a ceiling fan or pendant in the projector beam.
- Note whether curtains cover the full window area.
Compare Screen Materials for Some Ambient Light
Screen composition determines how much projected light reaches your eyes and how strongly room light washes out dark areas. Surface color, optical coatings, and gain each affect brightness and perceived contrast, but improvements in one area often come with a tradeoff elsewhere. Compare materials by how they handle both the projector’s light and competing illumination, paying attention to viewing-angle limits and color shifts as well as nominal gain. These characteristics vary among products within the same category.
Evaluate ambient-light-rejecting materials
Ambient-light-rejecting (ALR) screens use directional or layered optical structures to favor light arriving from the projector while reducing light from selected directions. Their effectiveness depends on the geometry of the room and the screen’s design, so an ALR surface does not reject every lamp or window equally. Some models also have a narrower usable viewing area or visible texture. Check the manufacturer’s specified light-rejection direction and projector compatibility before comparing models.
Compare matte white, gray, and high-gain surfaces
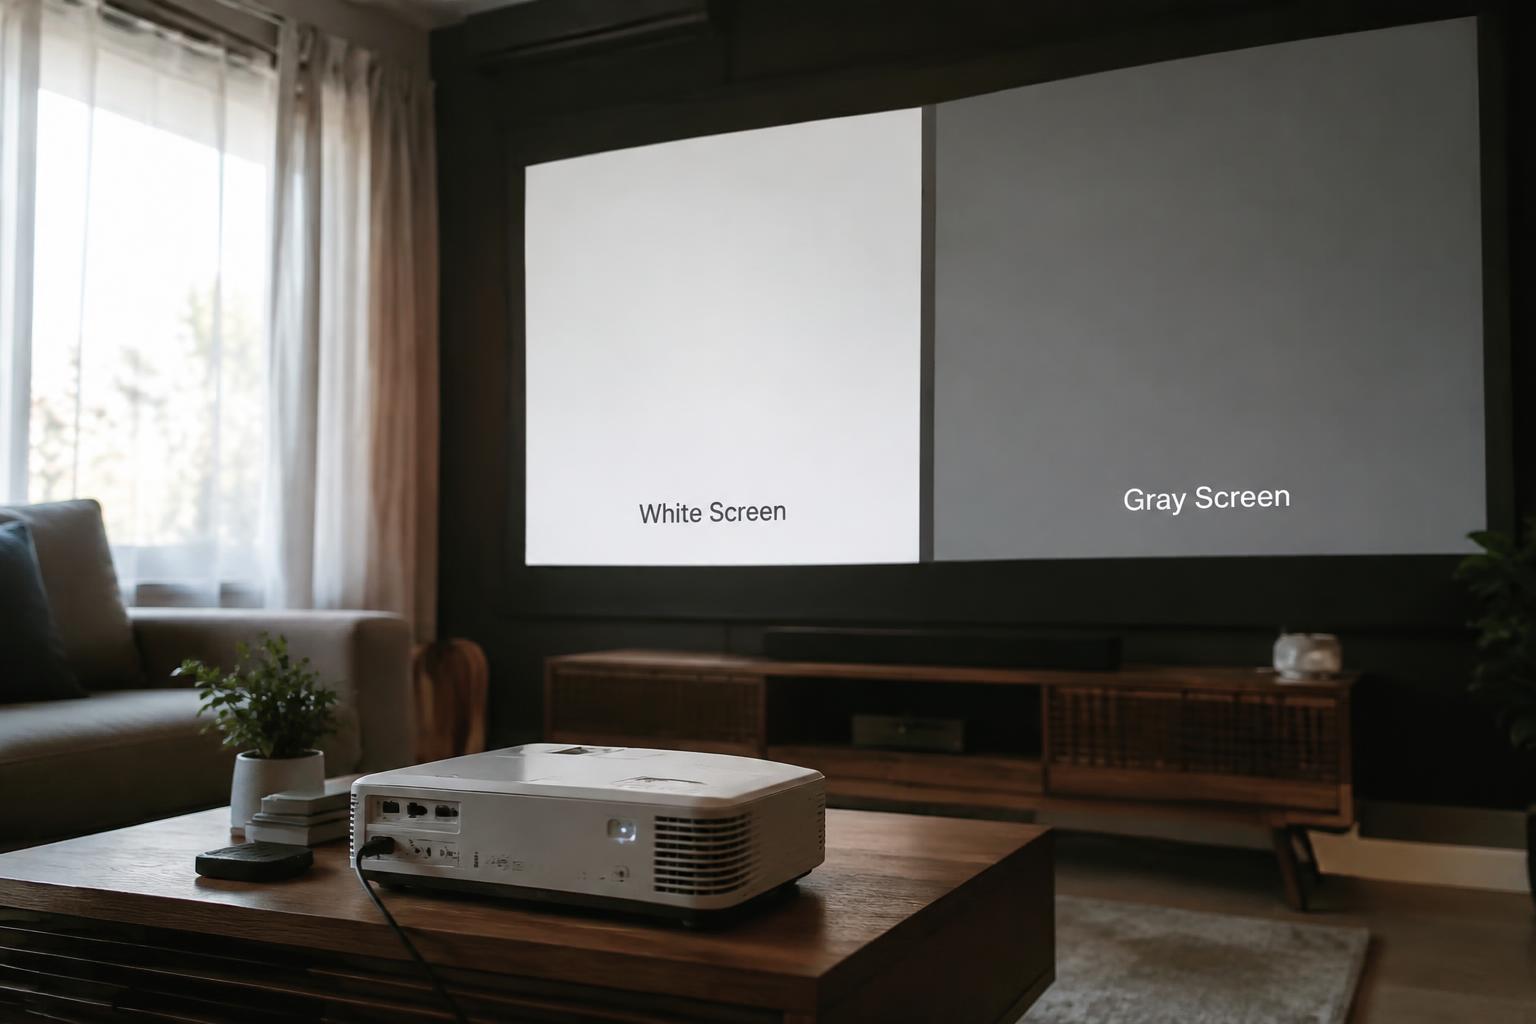
Matte-white material reflects light broadly and preserves a neutral image, but ambient illumination also reaches viewers, lifting dark tones. Gray material absorbs more light, which can make blacks appear deeper in a room with some spill, while also reducing overall image brightness. High-gain surfaces concentrate reflected light toward a narrower seating zone, raising brightness there but increasing the risk of uneven illumination or hotspotting. Gain and color should be assessed together, not as isolated specifications.
Balance contrast, viewing angle, and color accuracy
Choosing a surface means weighing the contrast improvement against who sits where and how faithfully the screen reproduces color. A directional ALR or high-gain screen can look brighter from the center seat yet dim toward the edges of a wide sofa. Gray surfaces can deepen perceived blacks, but a tinted coating may alter whites or saturated colors. Review the screen’s stated viewing cone and color neutrality, especially if several seats need consistent skin tones.
| Material | Ambient-light response | Typical tradeoff |
|---|---|---|
| Matte white | Reflects projector light broadly, along with room light | Neutral color, weaker perceived blacks |
| Gray | Absorbs more light, including some ambient illumination | Deeper perceived blacks, lower image brightness |
| High gain | Directs more reflected light toward a narrower zone | Brighter center seating, narrower viewing angle |
| ALR | Rejects light from selected directions | Performance depends on light and projector angles |
Choose and Set Up Your Screen
Use your room assessment and projector specifications to make a practical selection, then confirm the screen’s size and position from the seats where you watch. Match gain and surface characteristics to the light that reaches the image area, not simply the brightness of the room. Viewing angle matters too: a directional surface can look uneven from seats off center. Before committing to a frame or mounting method, map the image boundaries and sightlines.
Match screen material to light conditions and budget
For a room with moderate ambient light, an ambient-light-rejecting (ALR) material can preserve contrast by directing projector light toward viewers and rejecting some off-axis light. Its performance depends on projector placement and seating angles, so match the surface to your setup rather than choosing by label alone. A neutral white screen usually costs less and suits controlled lighting. Budget for compatibility with the projector’s throw direction and the room’s main light sources.
Position the screen to avoid direct light
Place the screen away from windows and uncovered lamps, especially where sunlight or a beam lands directly on the viewing surface. Direct illumination washes out projected blacks and can overwhelm the benefit of a higher-gain or ALR material. Keep light off the image by locating the screen on a wall perpendicular to windows where practical, then use curtains or shades to control daylight. Check the full projected image area at the time you usually watch.
Test image quality before final installation
Before fixing a frame or drilling mounting holes, test a sample or temporarily hang the screen material at the intended size and height. Project familiar dark scenes, bright highlights, and fine text from your normal seating positions. Look for washed-out blacks, hotspotting, sparkle, and color shifts, especially near the edges. Test with room lights on under typical viewing conditions, and confirm that every seat receives a consistent image before final installation.
- Measure the wall width available for the screen frame.
- Confirm the projector’s lens height against the screen’s image area.
- Mark seating positions before evaluating off-axis brightness.
Maintain Screen Performance
Consistent image quality depends on keeping the screen’s reflective surface free of residue, scuffs, and uneven tension. Dust or oily fingerprints can appear as distracting patches, especially in bright scenes, while creases may distort projected geometry. Follow the screen maker’s care instructions and inspect the surface under room lighting before a viewing session. Use only approved cleaning methods, since an incompatible solvent or abrasive cloth can permanently alter the finish.
| Screen surface | Care approach | Risk to avoid |
|---|---|---|
| Matte white fabric | Gentle dust removal | Abrasive rubbing |
| Ambient-light-rejecting surface | Manufacturer-approved cleaning | Scratching directional layers |
| Vinyl screen | Soft, lightly damp cloth if approved | Harsh solvents |
Clean the screen according to its material
Start with the manufacturer’s care label, because matte fabric, vinyl, and layered ambient-light-rejecting screens tolerate different cleaning methods. For loose dust, use a clean, soft microfiber cloth or a low-suction vacuum with a brush attachment, keeping the tool from pressing into the surface. Never scrub a textured or optical layer; friction can flatten its structure and create visible bright or dull spots. Apply liquid only when the instructions permit it, and avoid spraying directly onto the screen.
Prevent damage from handling and storage
Handle a retractable screen by its casing or pull bar, not by pinching the viewing area, where oils and pressure marks can remain visible. For a removable screen, roll it with the viewing surface facing as the manufacturer specifies, and use its protective sleeve during storage. Keep the material dry and away from heat, sharp edges, and heavy objects. Do not fold the screen, since a crease can leave a permanent distortion in projected lines and text.
Summing up
Choose a projector screen material according to the direction and strength of the room’s ambient light, not gain alone. For light entering from the sides, an ambient light rejecting screen with the correct viewing angle can preserve contrast; for a dim room with controlled lighting, matte white fabric often provides more natural color and broad seating coverage. Match the screen’s optical properties to your projector’s brightness and placement, then position it away from direct window light. The right choice balances contrast, color accuracy, and the seats you use.
FAQ
Is an ambient light rejecting projector screen worth the extra cost?
An ambient light rejecting screen can be worth the extra cost when room light cannot be controlled and it reaches the screen from angles the material is designed to reject. It will not eliminate the effect of strong light, and its viewing angle, projector position, and price should fit the room.
How long does it take to set up a projector screen for a room with some ambient light?
Setup time depends on whether the screen is fixed, retractable, or portable and whether mounting is needed. Allow time to position the projector and screen, check alignment, and test the image under the room’s usual lighting before finalizing placement.
Can a gray projector screen improve picture quality in a bright room?
A gray screen can make dark tones appear deeper, but it also reflects less light than a comparable matte white screen. It may help when the projector is bright enough, while an ambient light rejecting surface or better light control may suit light that falls directly on the screen.
What is the most common mistake when choosing a projector screen material?
A common mistake is choosing a screen based only on its gain or ambient light rejecting label without checking viewing angle and projector placement. These surfaces can produce uneven brightness or color shifts when viewers or the projector sit outside the intended angles.
What can I do if ambient light still washes out the projector image?
Reduce or redirect light reaching the screen, then adjust the projector and screen position before replacing equipment. If the room cannot be darkened, an ambient light rejecting screen may help, but its effectiveness depends on the direction of the light and whether the projector is positioned within the material’s intended range.